1 | THIS IS US
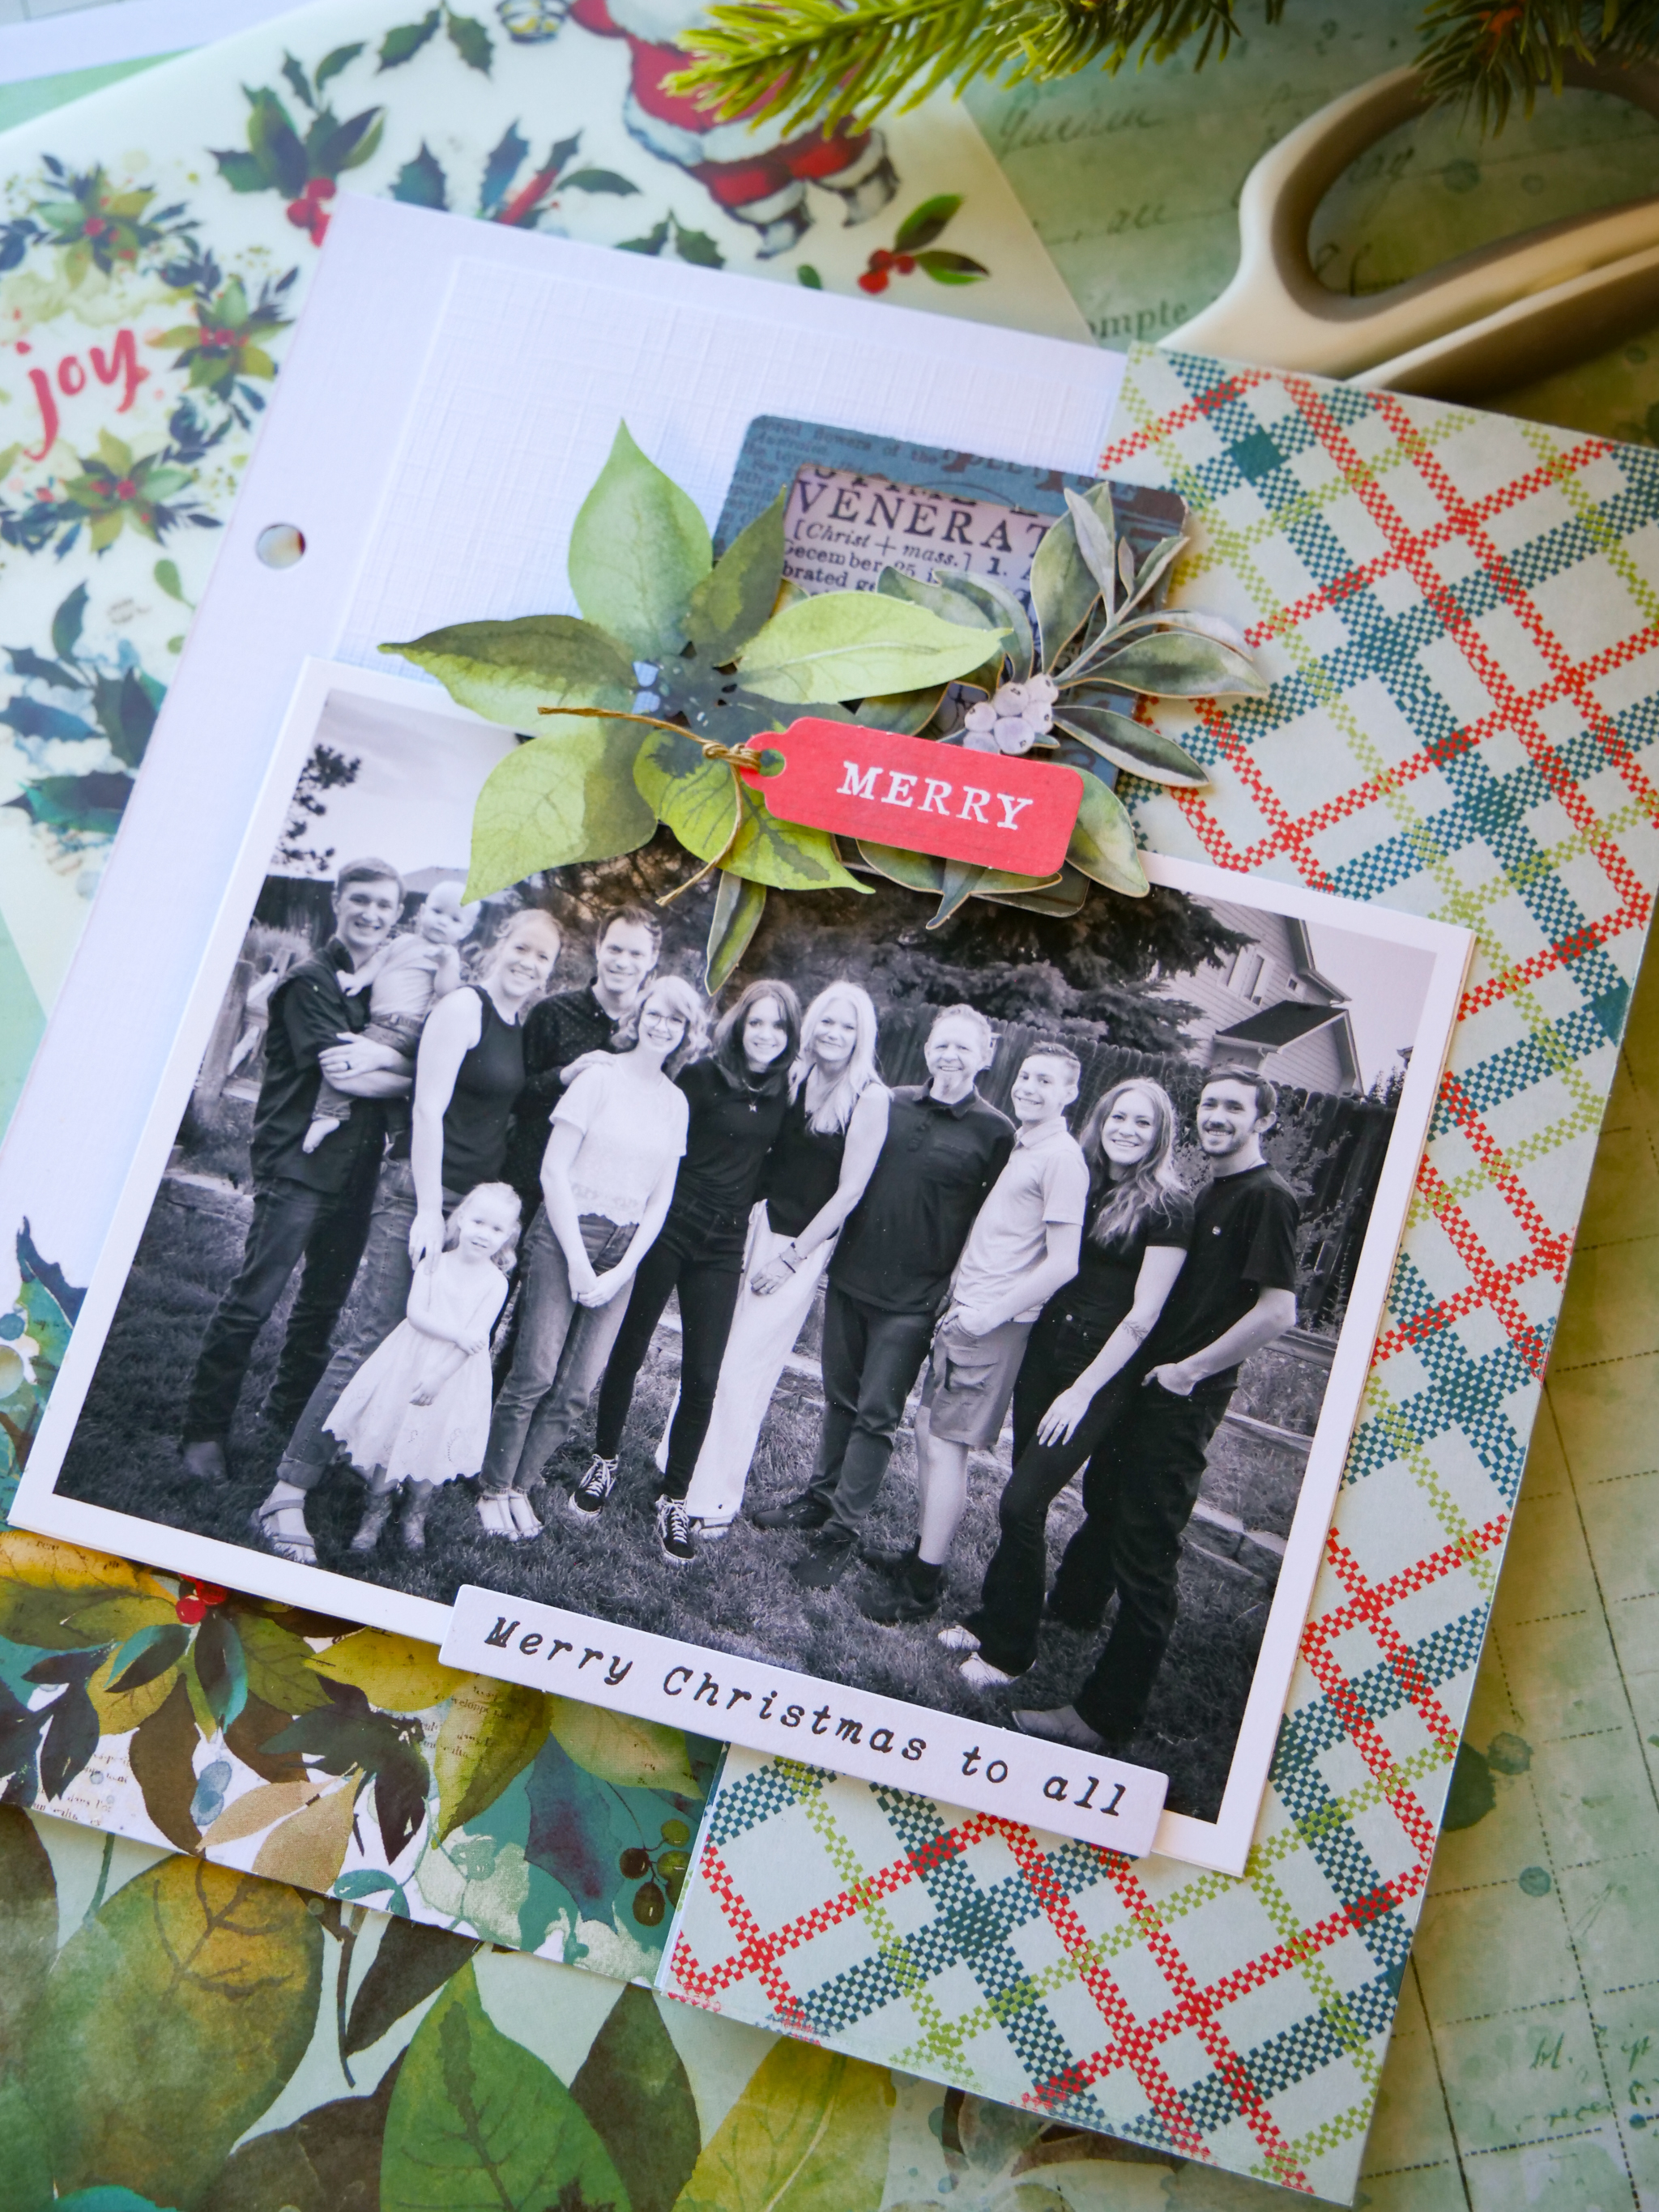
In this first lesson, this is where it has always begun for me. For as long back as I can recall on this December Album journey. Starting the season with what grounds me most: my family. In this opening lesson we will begin with ‘the photo of the year’. Anyway, that’s what it is for me. Whether your family is strewn across the country. Whether you are an empty or open nester. Or maybe you are even single. Find THE photo that grounds it all for you and let’s begin.
We will also be pairing this with reflections for the why of this album. Yes. I did steal that from Ali Edwards. But it continues to be a starting point for me after all these years. We will combine imagery + words + an interactive page that invites the viewer into the story. It’s foundational to the rest of the album. So let’s go.
CRAFT THE PAGE
Trim 12x12 white cardstock to be 8 inches tall
10 inches wide
My cardstock is textured on one side. With the smooth side up, slip into the score tool and score 3 inches in on the right side.
Use a pocket page as a guide to place binding hold marks. Punch the holes on left edge of the paper.
Fold on the scored edge. Gently burnish the fold.
(When page is closed it is then a 6x8 page size.)
While ‘closed’, adhere pattern paper to the 3 inch flap.
Place 6x4 photo (or a photo mat if not ready for a photo yet) so that it is about 1 ¼ inch from the bottom edge and ¾ in on the flapped right edge.
EMBELLISH
Adhere pattern paper to the back of the photo
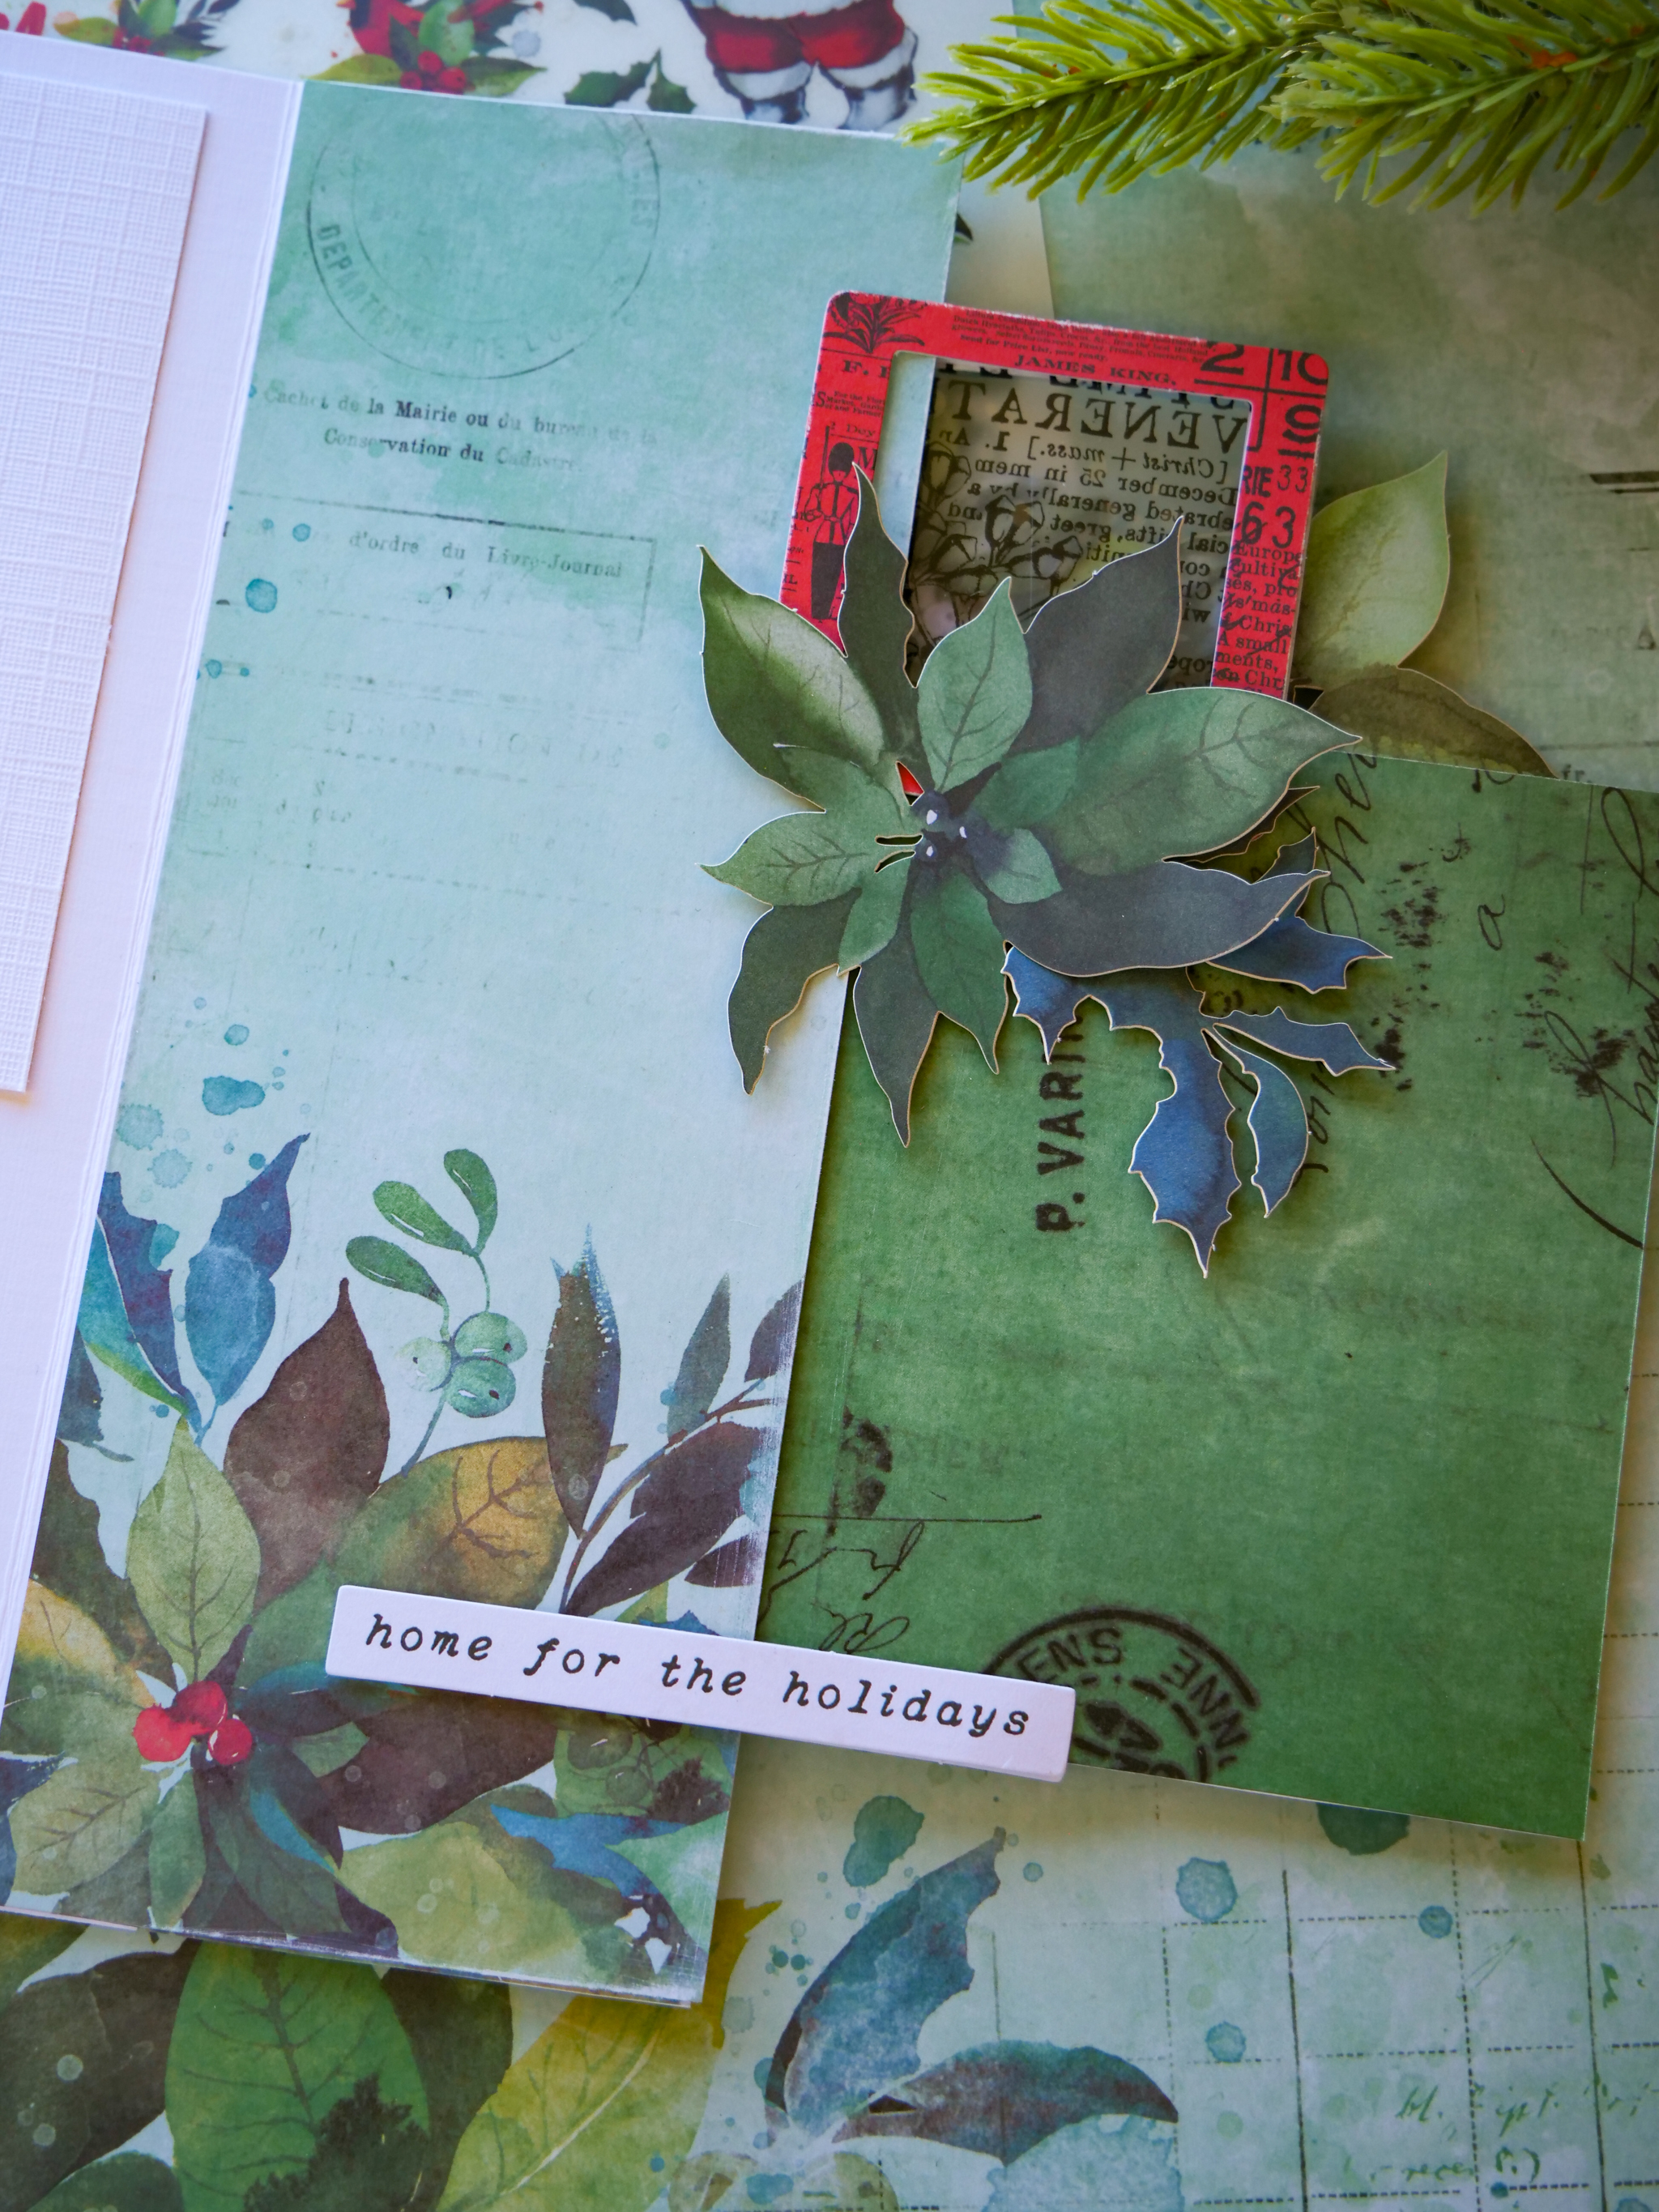
Adhere pattern paper to the inside 3 inch flap
Back up an ephemera frame with PET tape - apply tape to acetate
Pop up on page so that it overlaps the flap and the photo
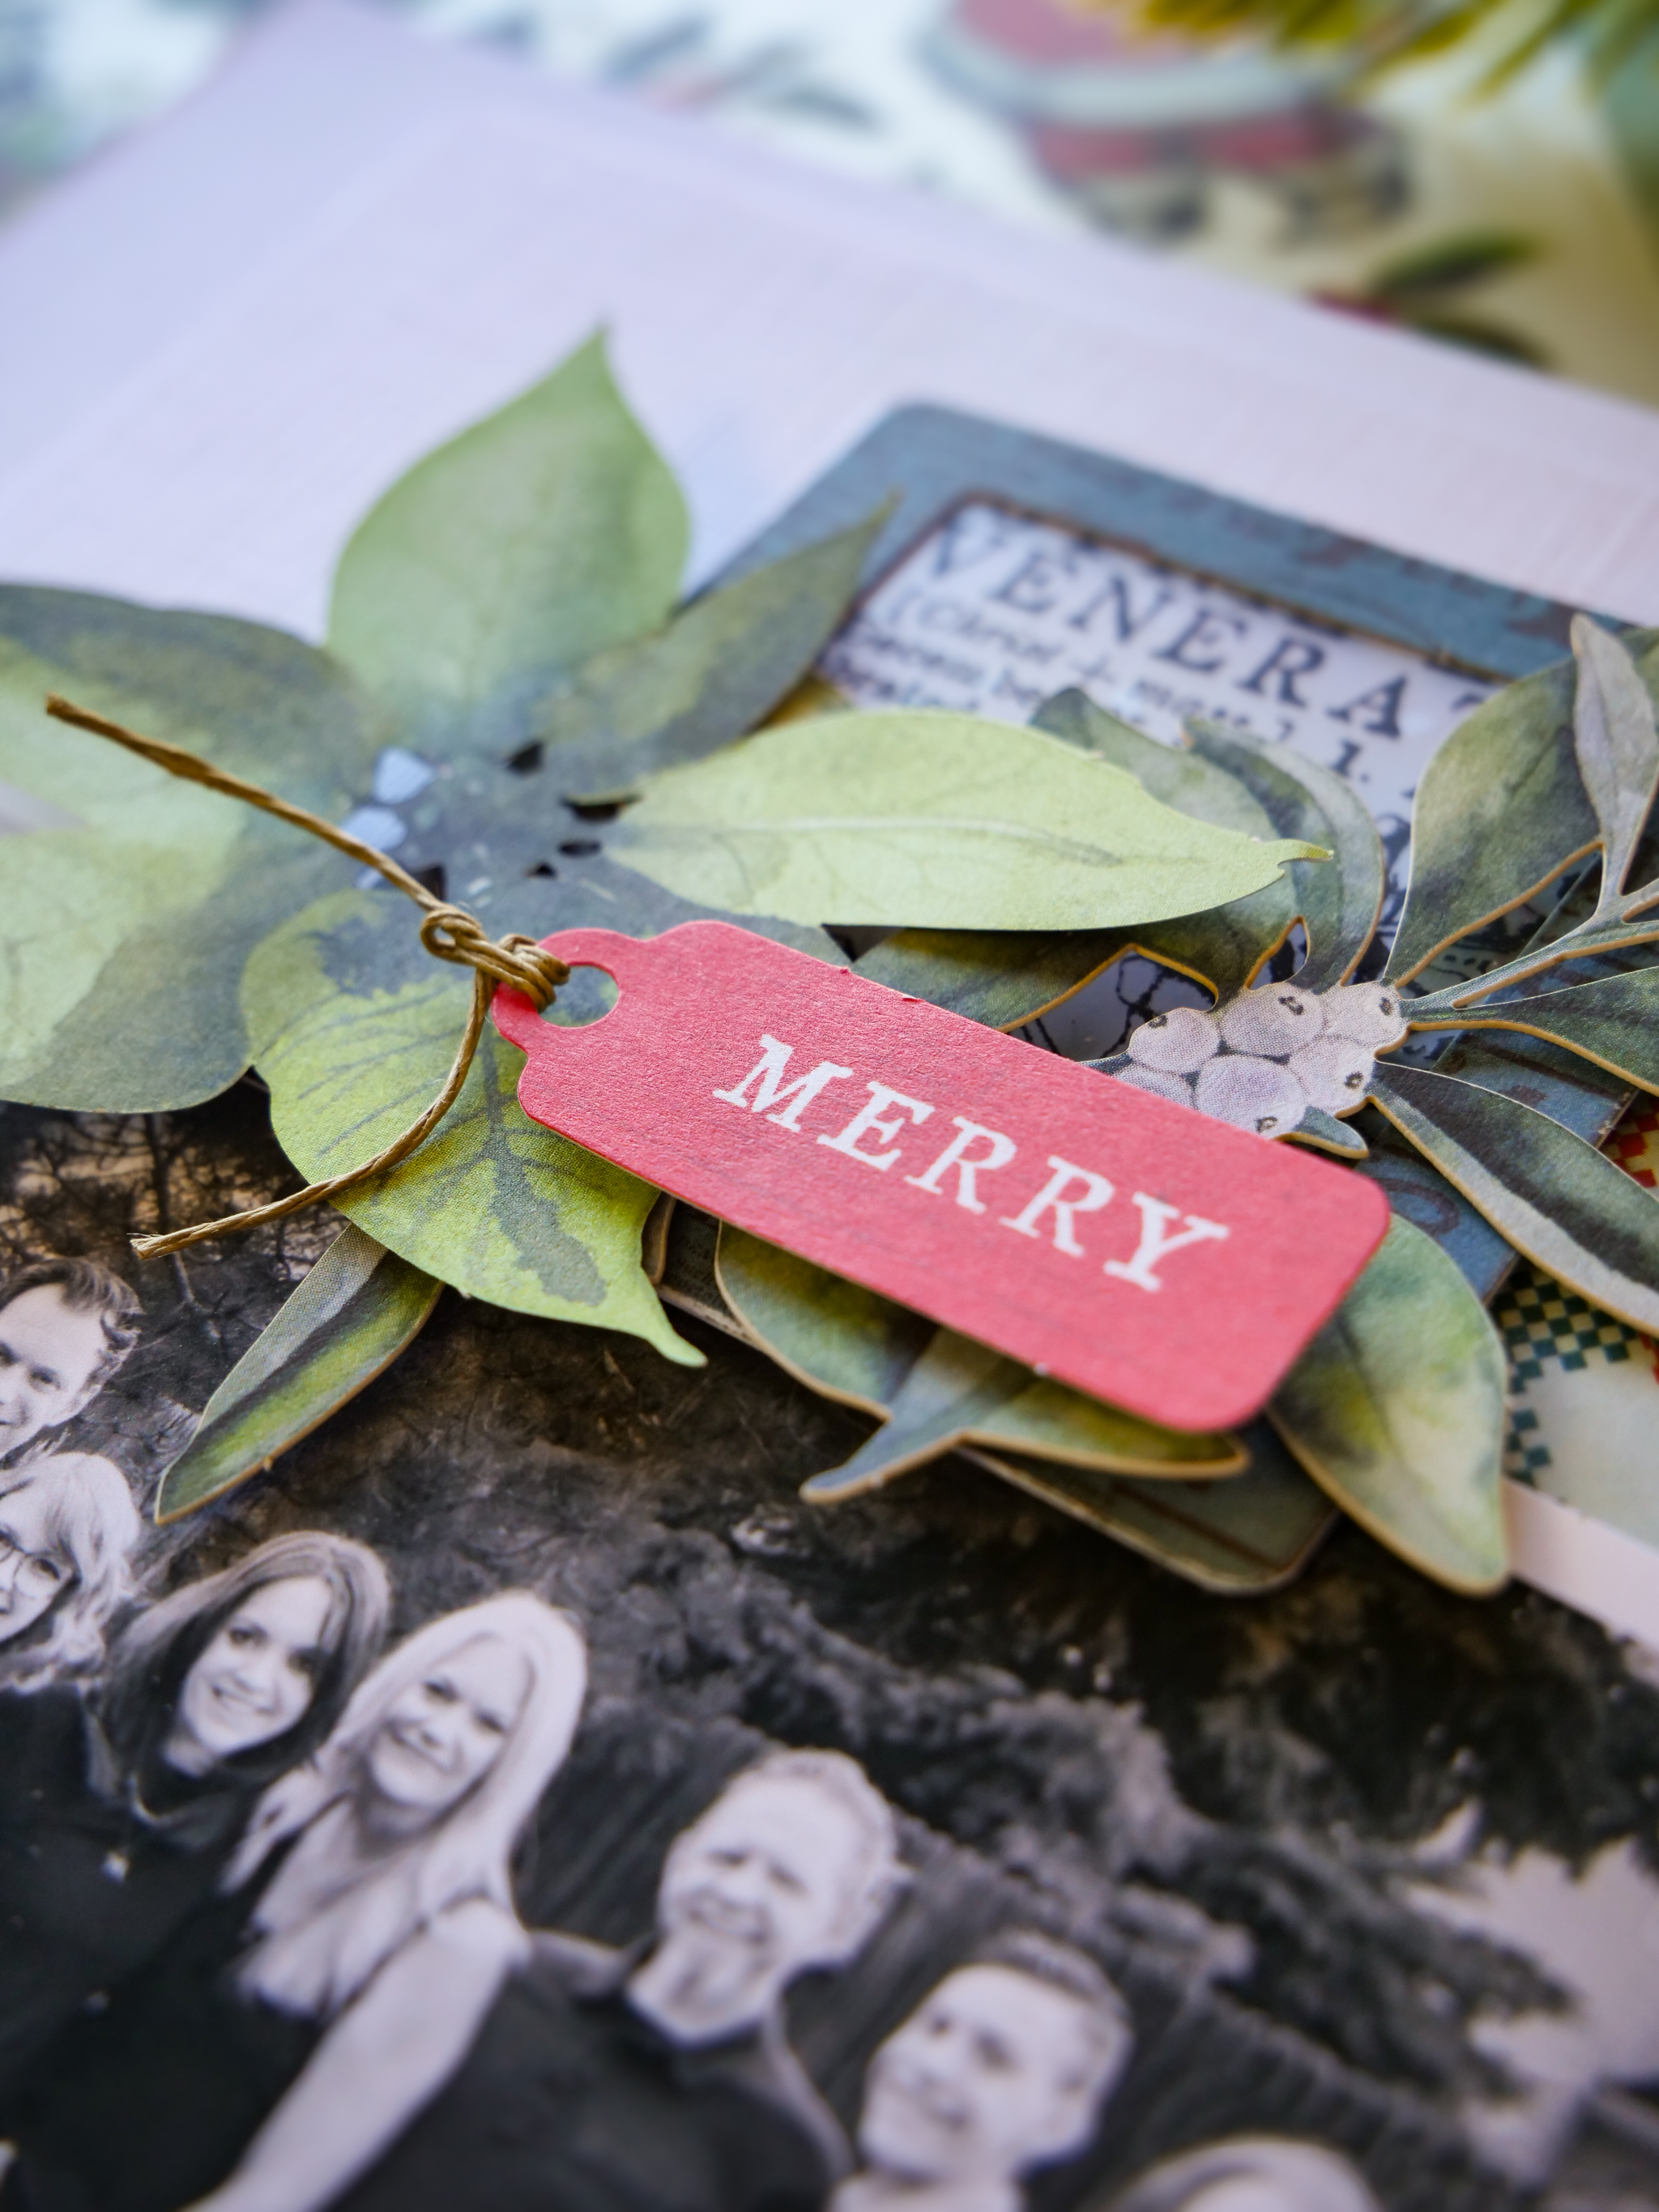
Cluster with ephemera florals and botanicals
Find the MERRY tag and add trim through the hole and pop up over clusters
Repeat this idea behind the clustering
Adhere sentiment strip to bottom edge of photo as well as a die cut title like Christmas above on the photo
On the lower left hand corner of the inside of page, transfer large floral rub on