Lesson 02 | Make No Mistake
(additional photos below)
We’re gonna make mistakes. And that’s OK!
This goes out to all my friends who are not ready to commit to the page. Maybe a little a-feared of messing up. Don’t want to work right on the medium of the planner week because they might mess up.
And that’s…OK.
We should all want it to look the best that we can.
There are a couple schools of thought going on here:
Never starting for fear of failing. Not an option I suggest.
Just adding bare minimums but still not happy with that result.
Making this a habit so that the practice makes for getting better.
I cannot teach habits in this class. You, my dear dear friend, will have to create those for yourself. Which will actually be addressed in another lesson.
What I can teach you are ideas for adding the things you want to add to your Memory Planner page in such a way that it is not permanent on the surface of the page.
And remember:
Time and practice.
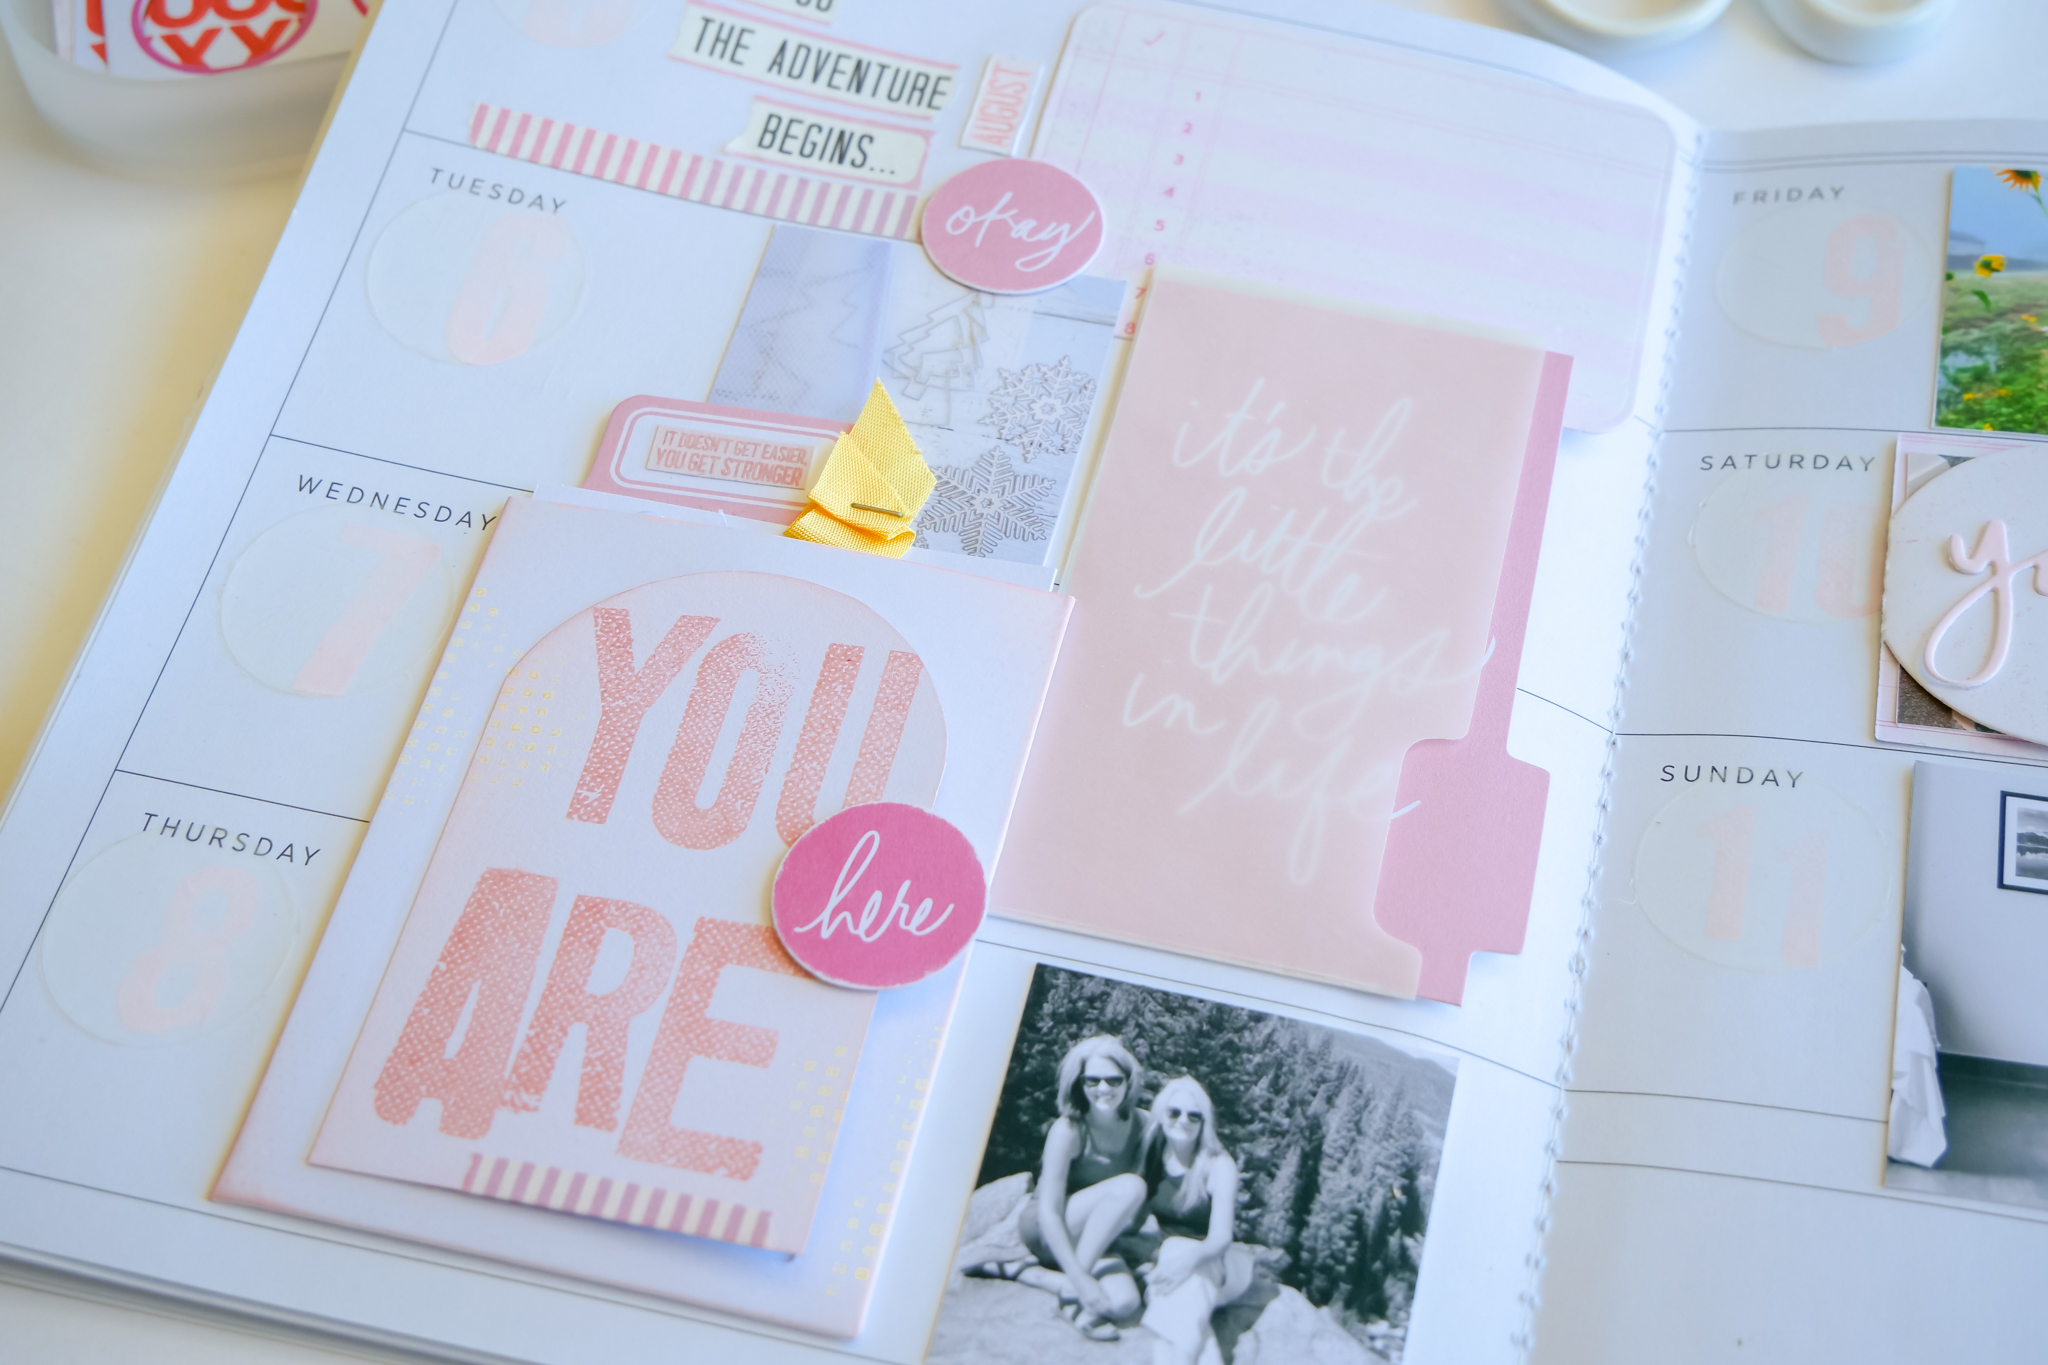
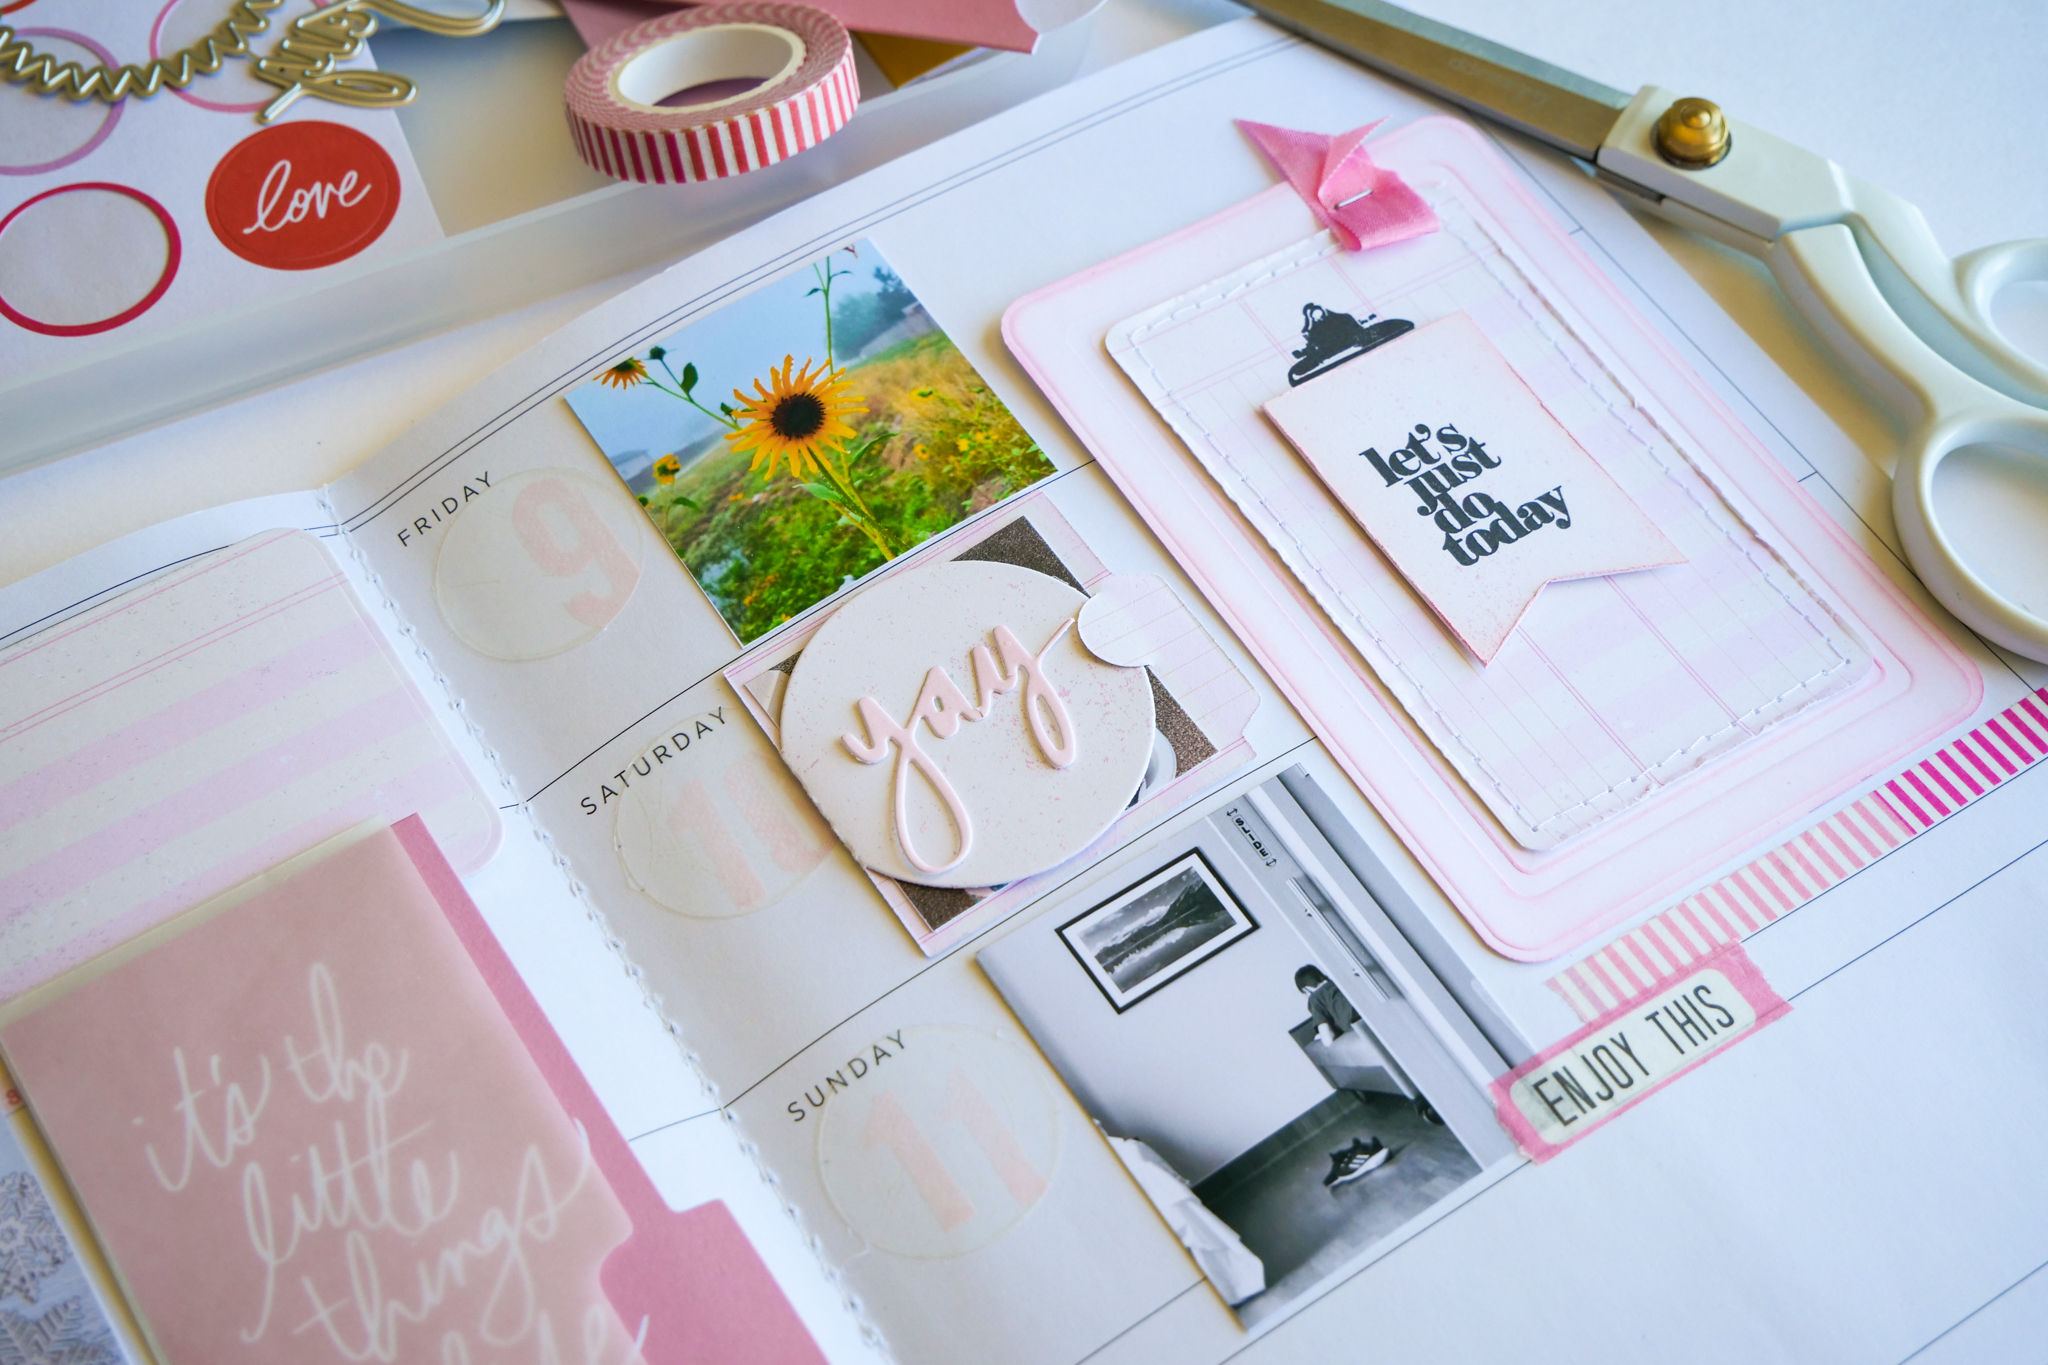
No mistake techniques include vellum sticker paper, pre-made elements, photos (I know…duh), die cut holders, hidden interactive elements, plus using a sketch for your ideas. Oh…and to be sure a little lecture at the end.
Let’s get to that in this video lesson.
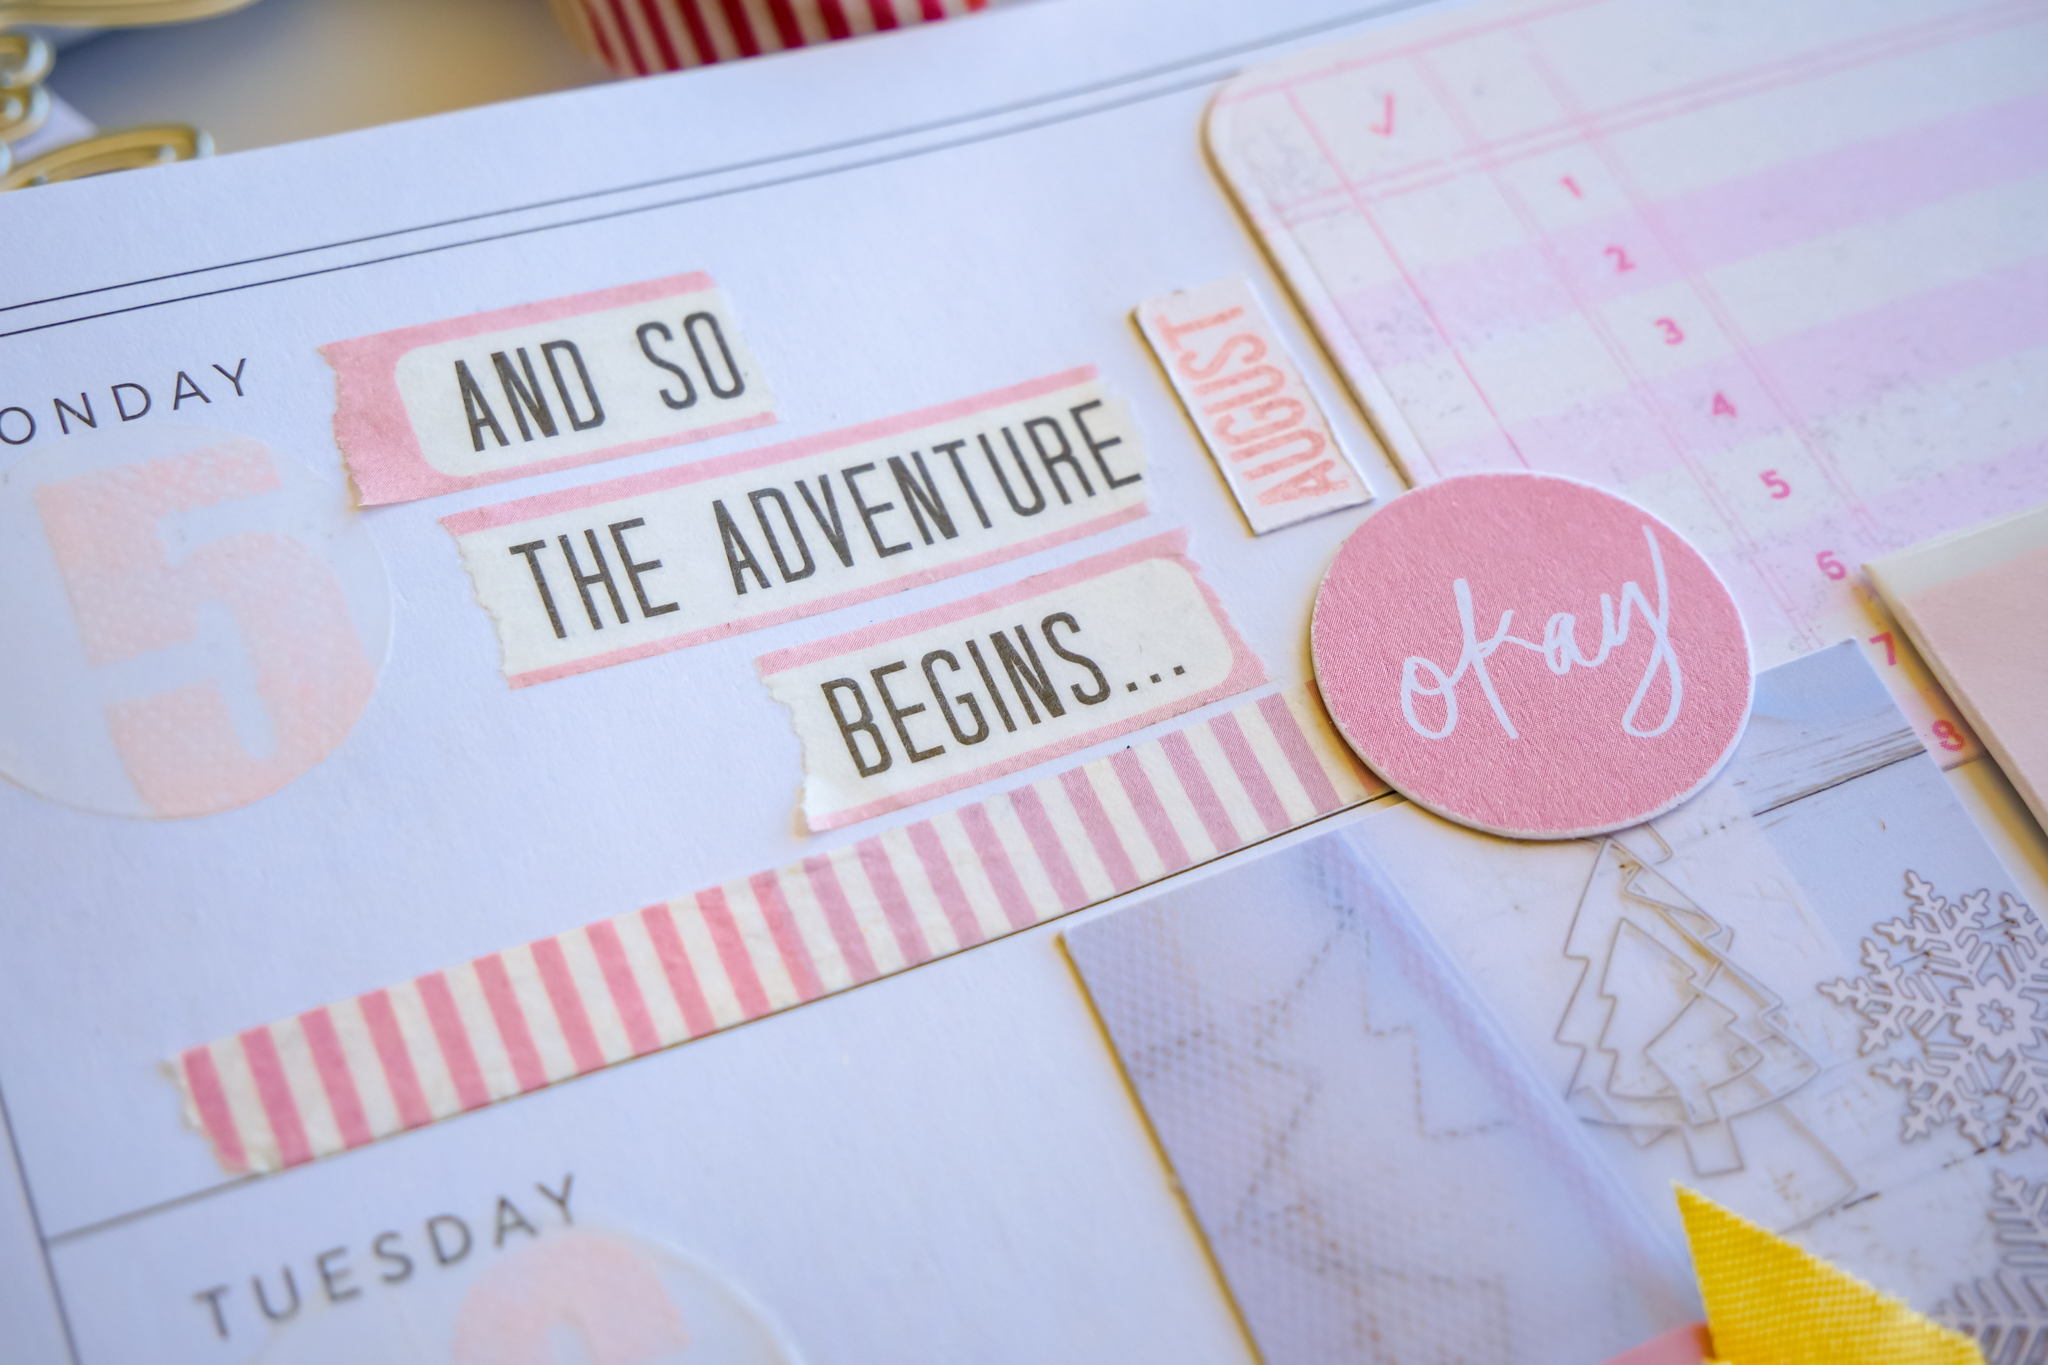
Part 1 Vellum Sticker Dates
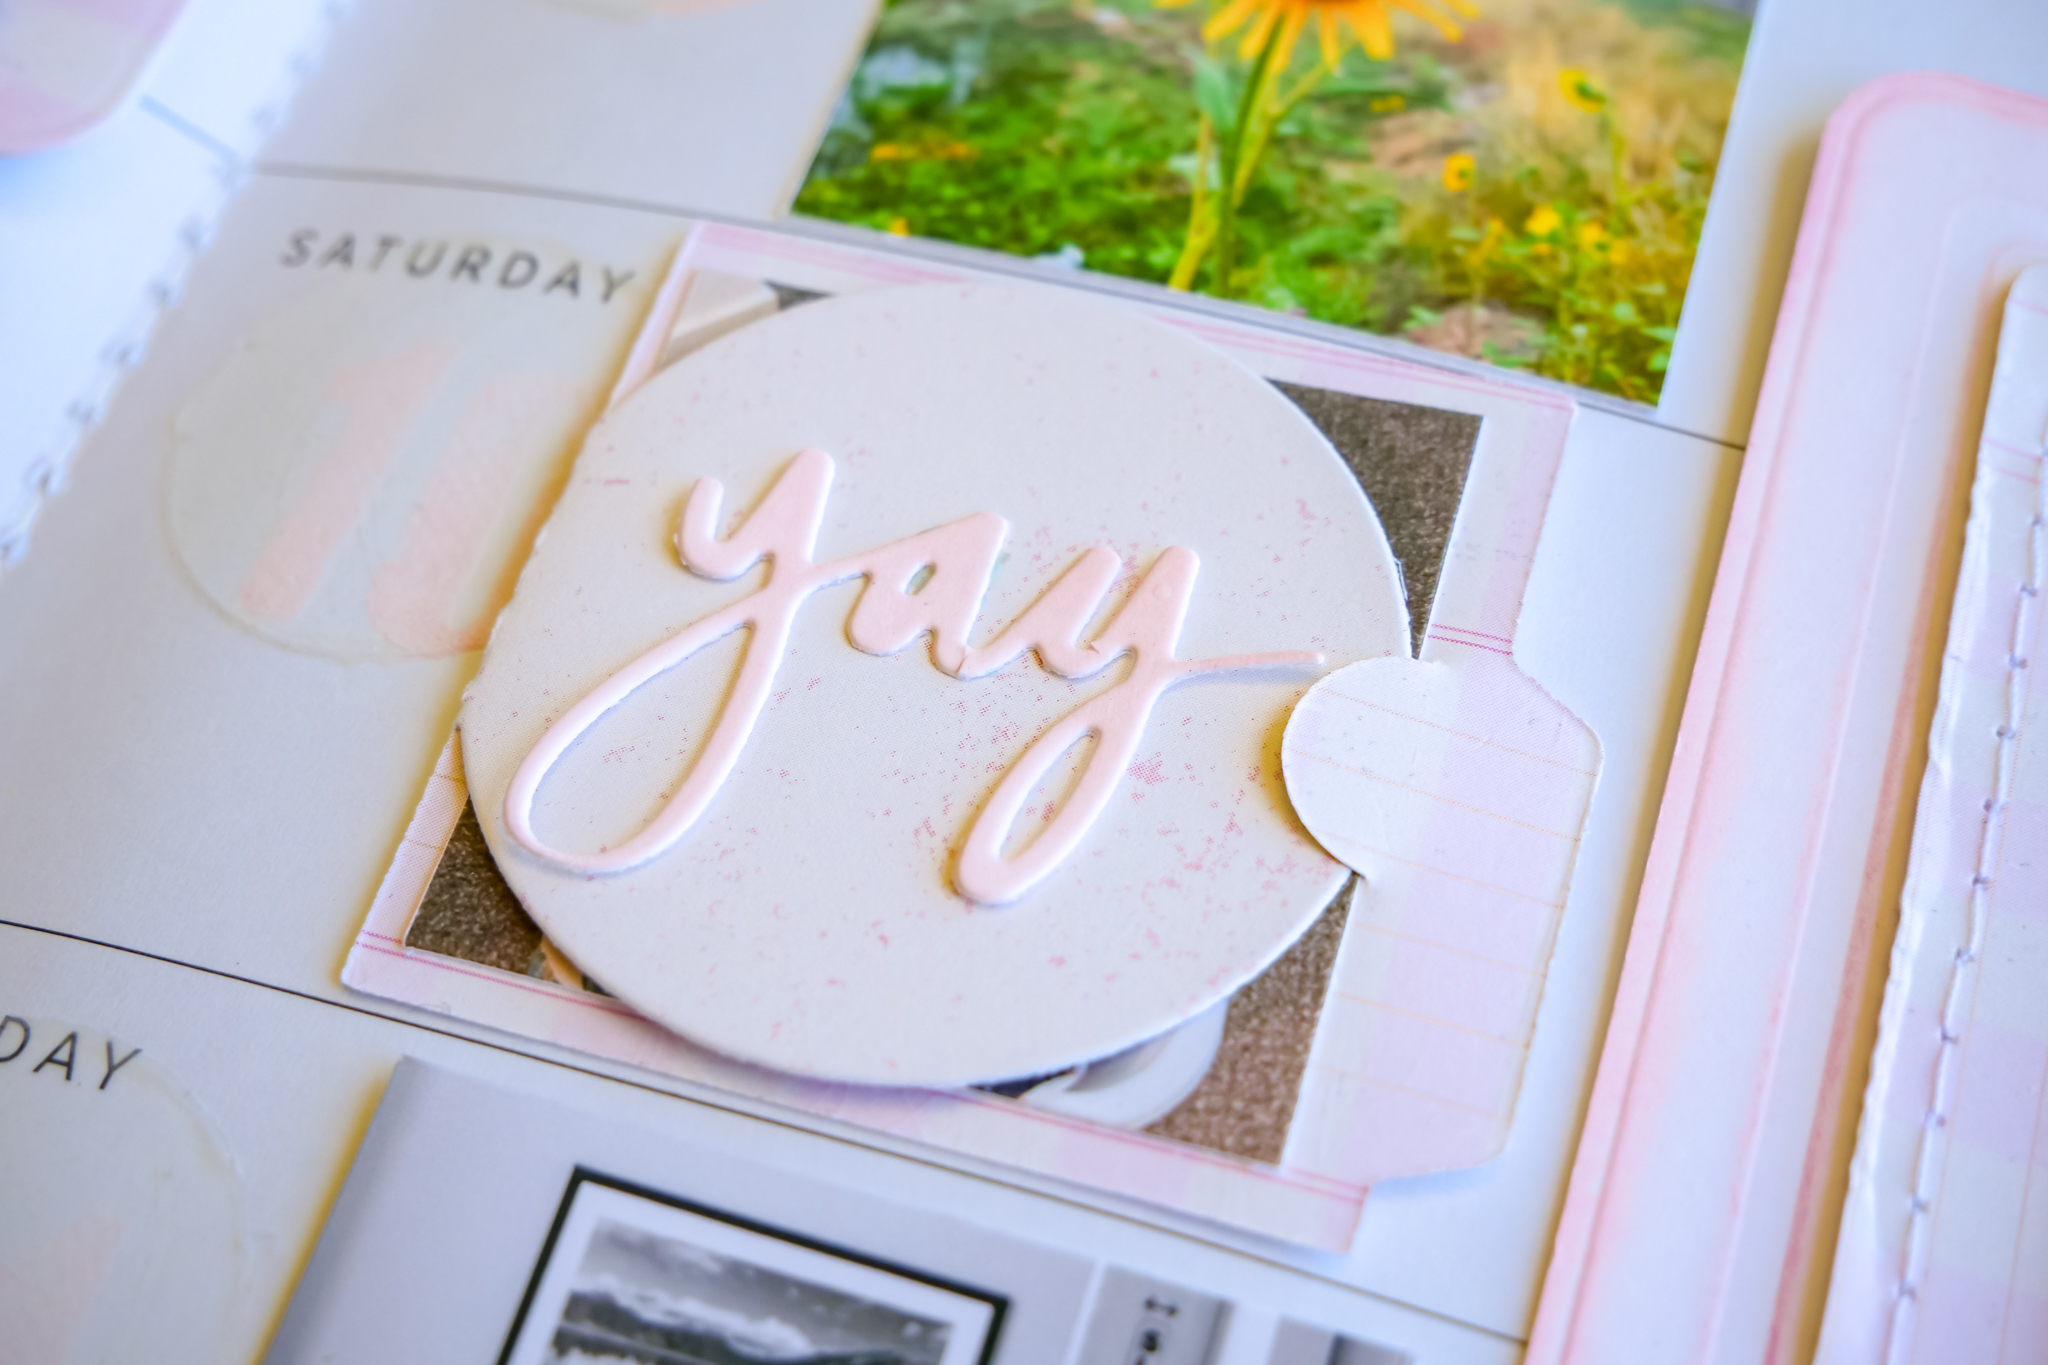
Part 2 Pre Made Elements
Part 3 Photos
Part 4 Hidden Photos
Part 5 Die Cuts and Stickers
Classes Mentioned:
Memory Planner Beginner Basics
Supplies Used: