09 | The Magic of Embellishing
EMBELLISH 10 | Ideas for adorning the pages.

NOTE: add adhesive to the larger pieces just in the middle back so as to have the opportunity to come back later and tuck more in as desired.

1.Trim a scrap piece of paper 6 inches wide by ½ tall. Distress well.
Use ⅛ In Double Sided Adhesive and add a strip at the very bottom of the 6 inch length.
Adhere to the inside cover paper.
Tuck ephemera tags or DIY tags into the now tuckable swatch.
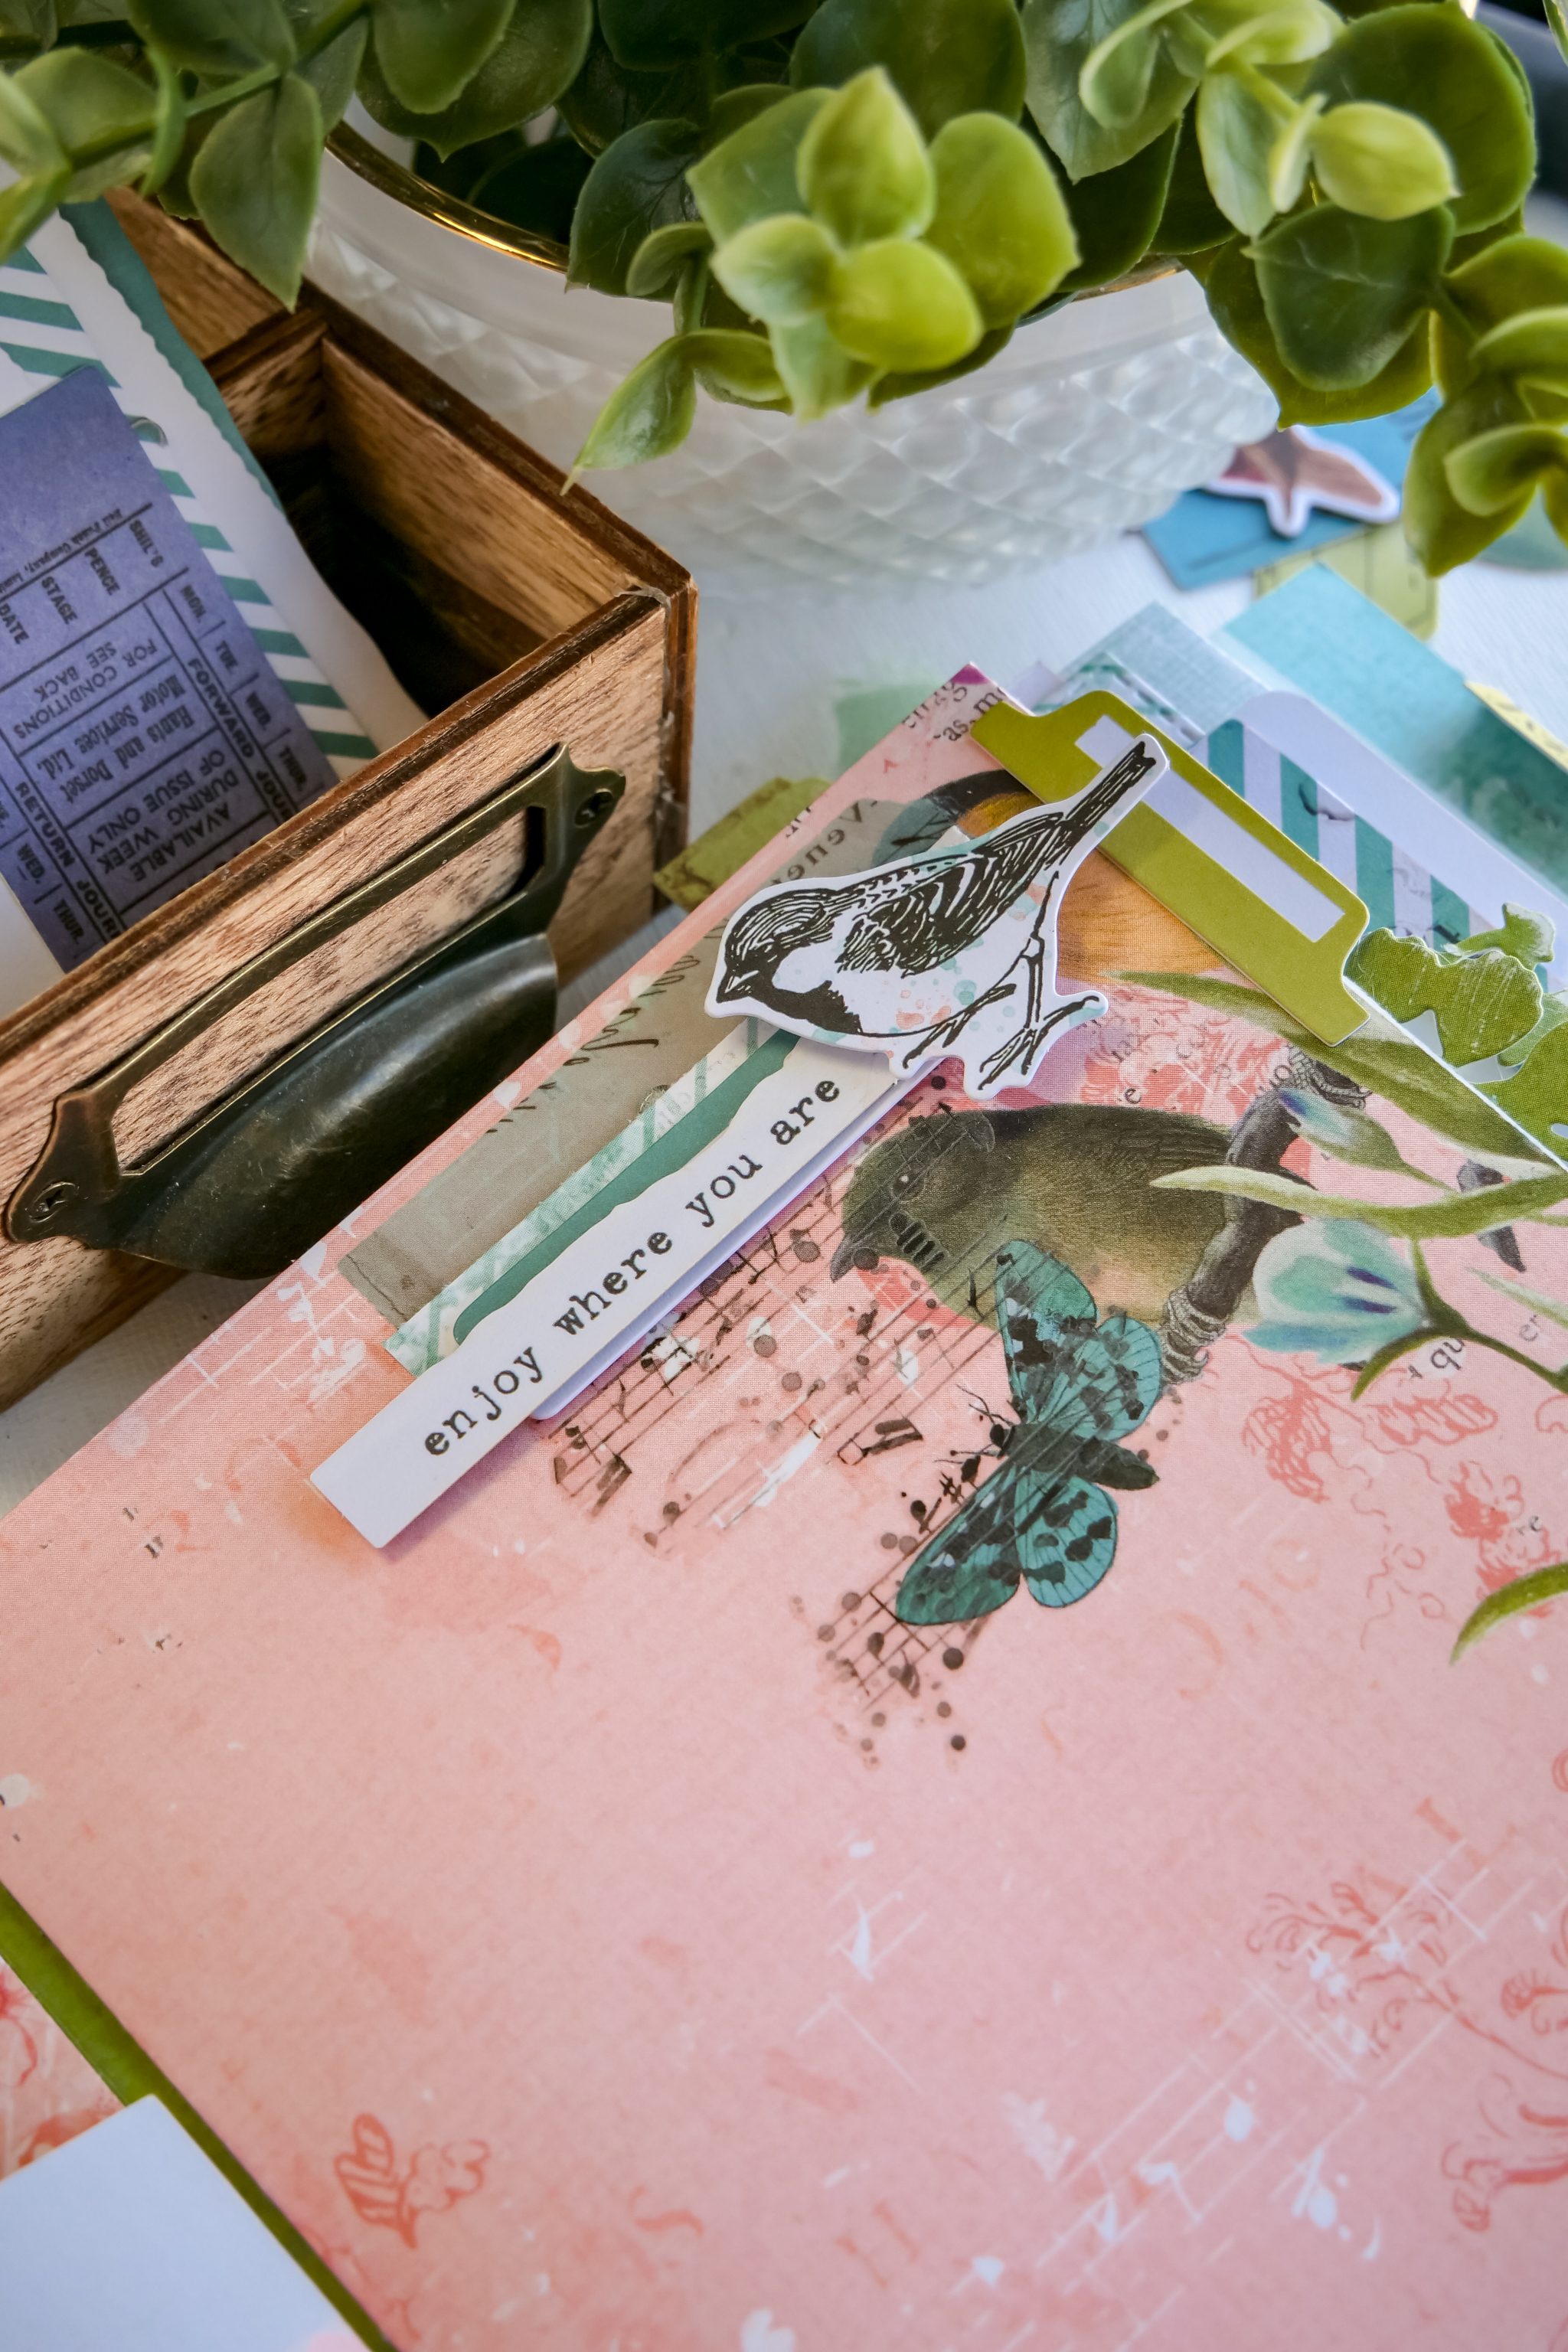
2. Open the flip page, add a rub on that will peek out from a layered cluster at the upper left had corner.
Gather a tag, postage, tab tag, frame, notched banner, or whatever, and clip to the page with paper clip, mini clothes pin, Tiny Attacher, or even glue all the pieces down with adhesive in the middle of each only. Maybe add sprig or two as well.
Transfer a sentiment rub-on to finish.
3. On the acetate cover page, pop on butterflies in a random fashion with foam adhesive. Back the page up with same if desired to cover the foam adhesive
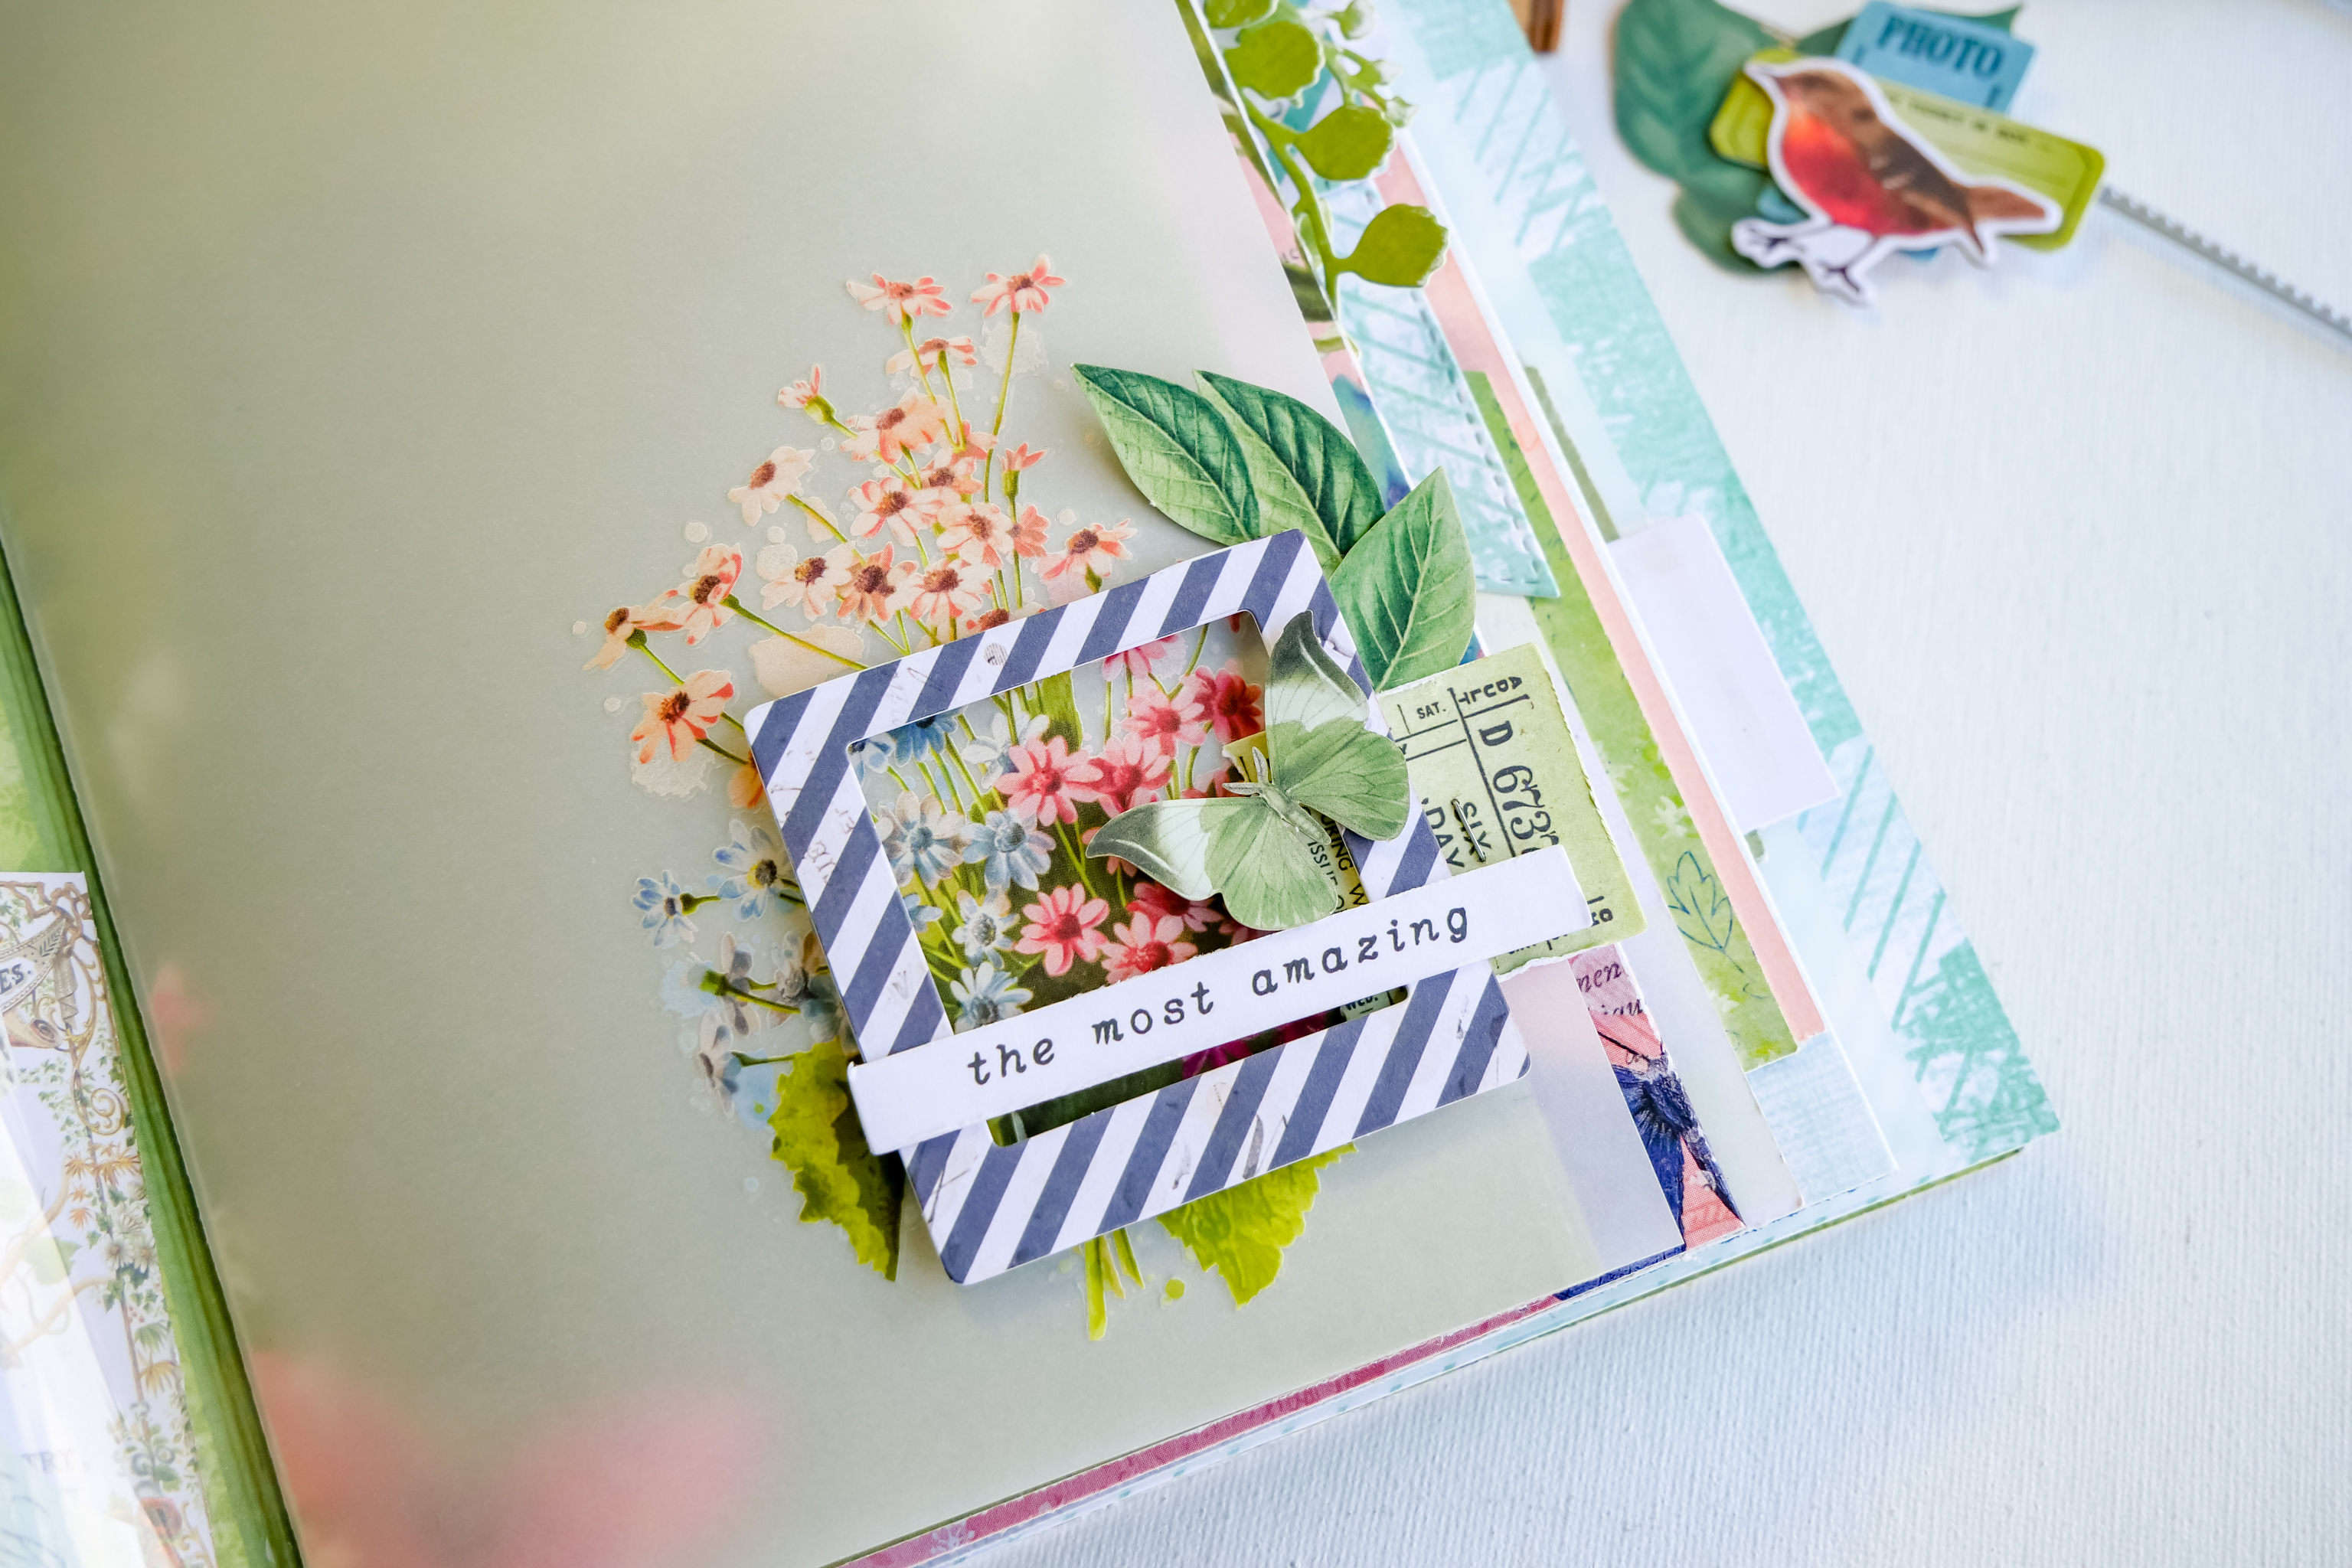
4. On vellum, add a large rub on focal point.
Adhere a frame and layer about it additional tickets, butterflies, a sentiment + foliage.
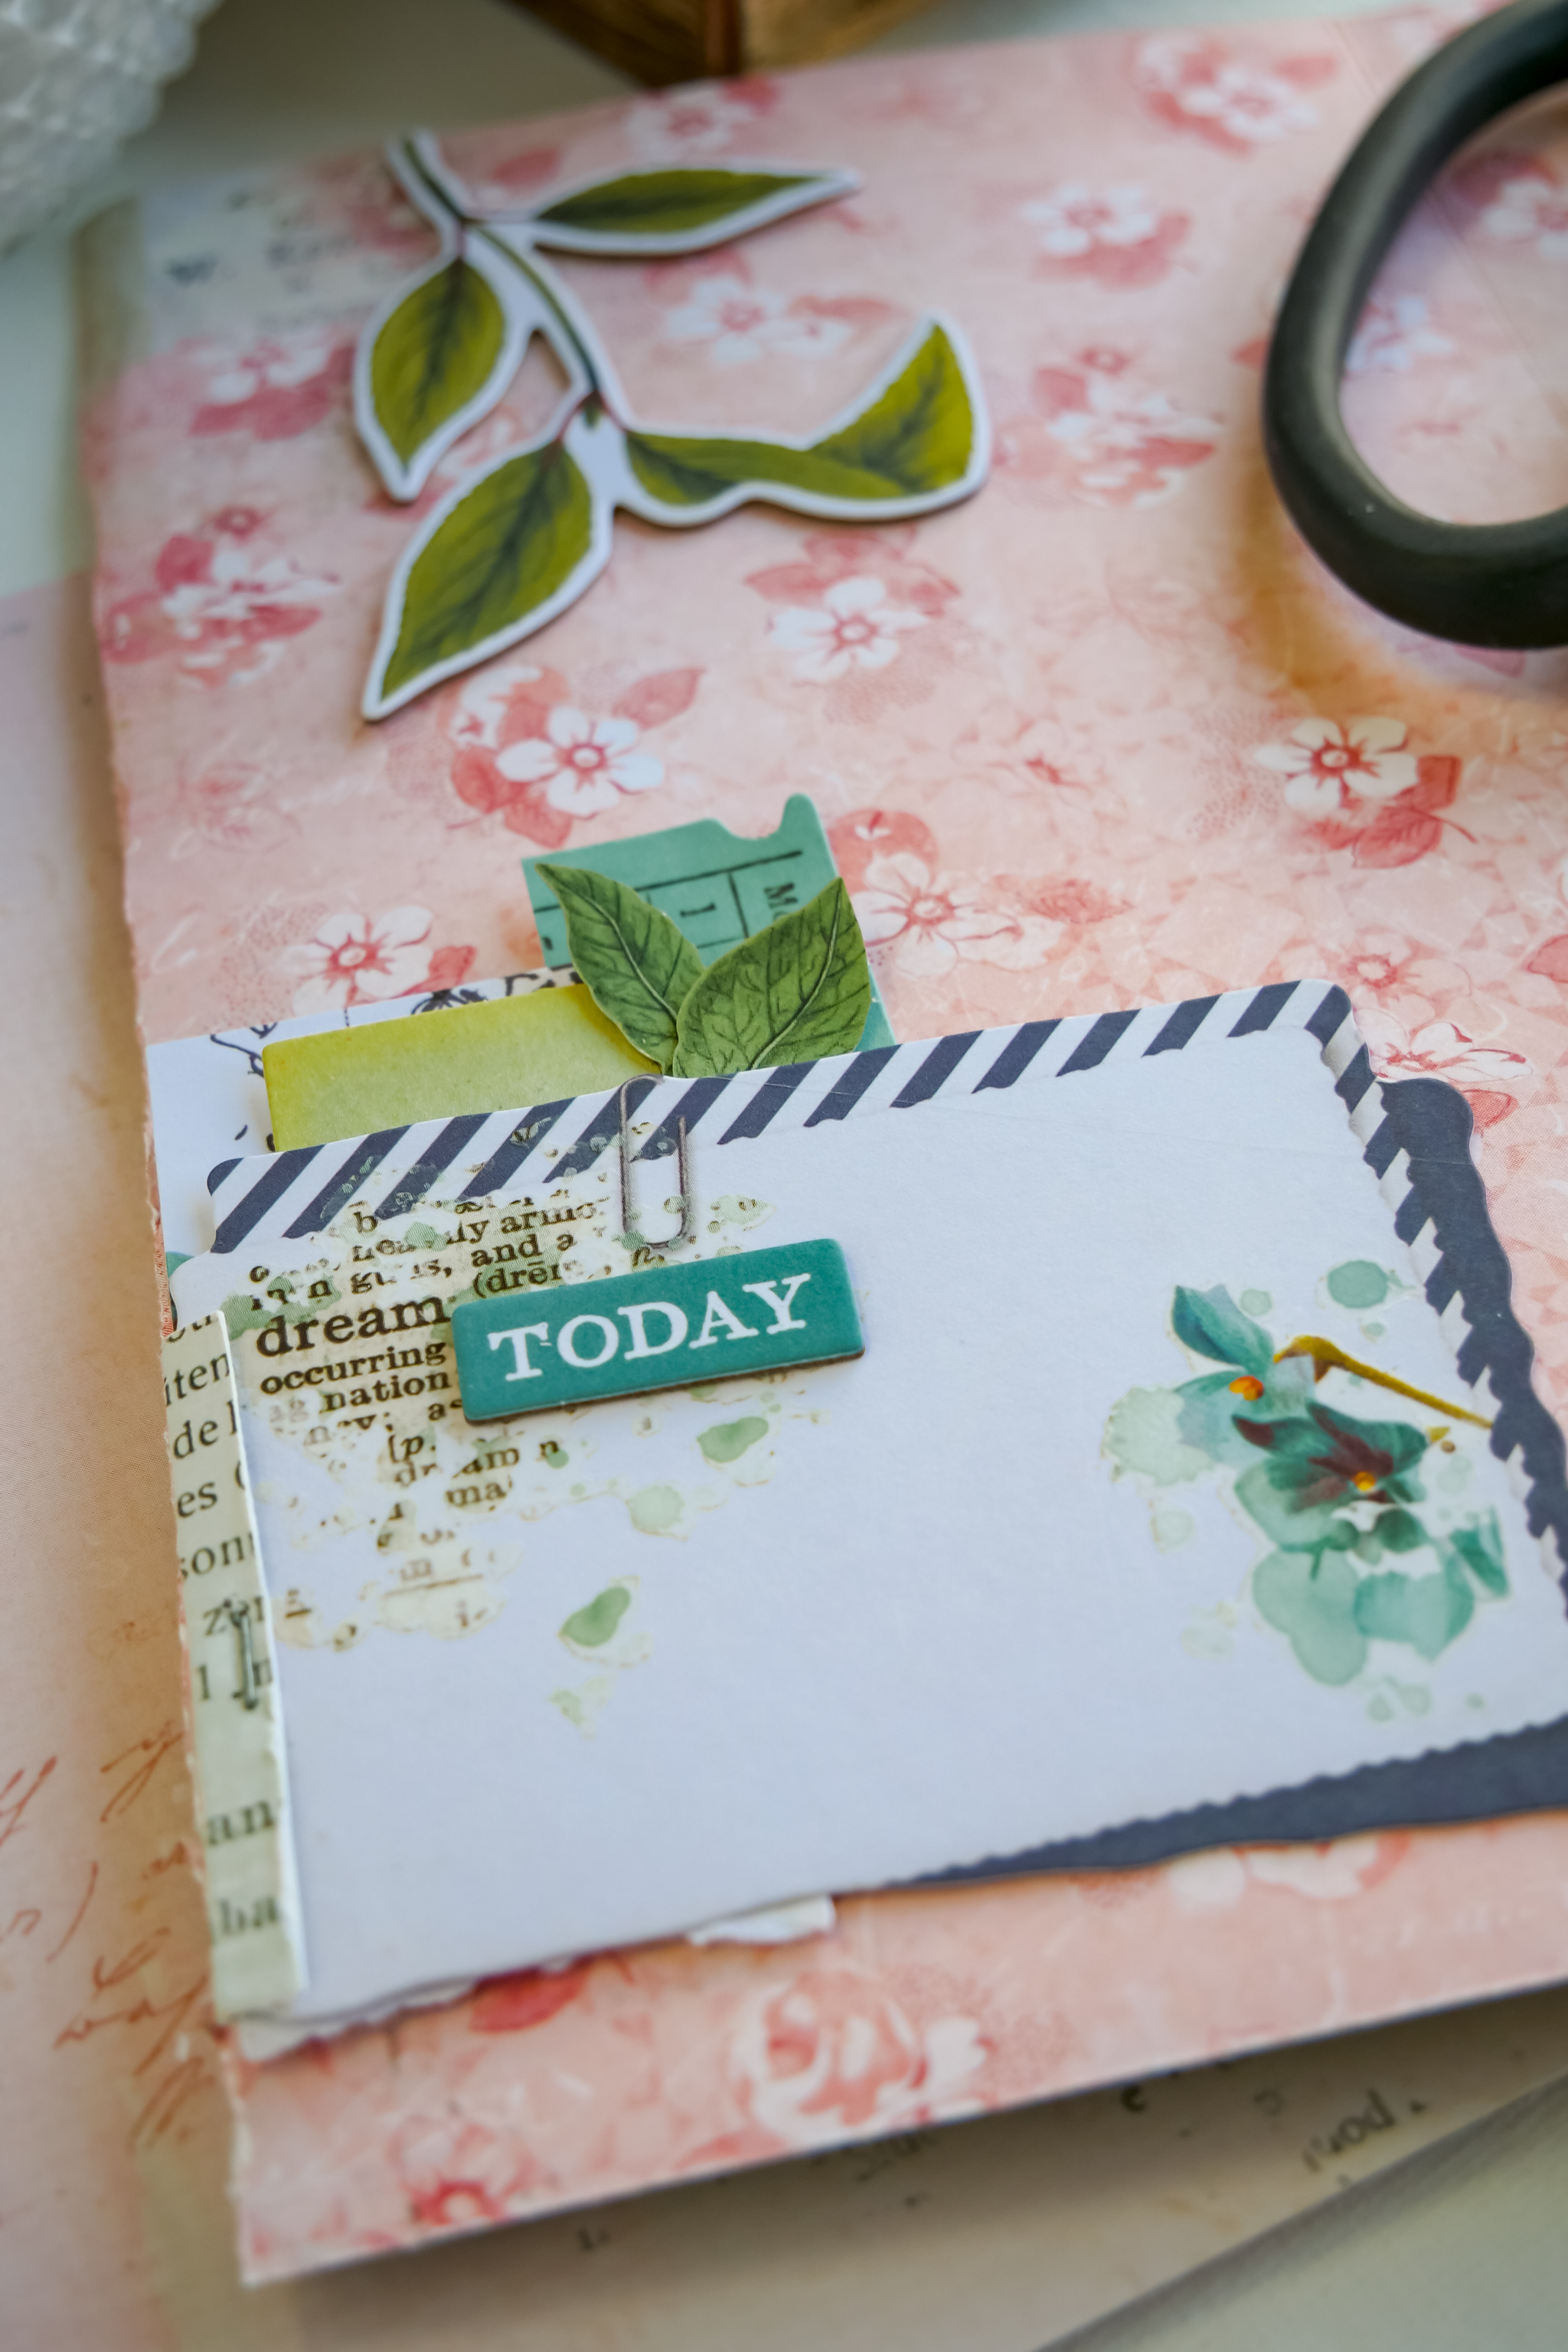
5. Taking a scrap of paper trim to: ½ wide and 2 ½ tall. Score down the middle on the length. Fold in half and distress well.
Pick out an open journal type ephemera piece. Transfer rubon text and a floral piece in a pleasing manner on the journal card.
Wrap the distress scrap around the left edge. Find tickets or coupons or any tall ephemera and tuck behind along with another wide ephemera piece. Tiny Attach together.
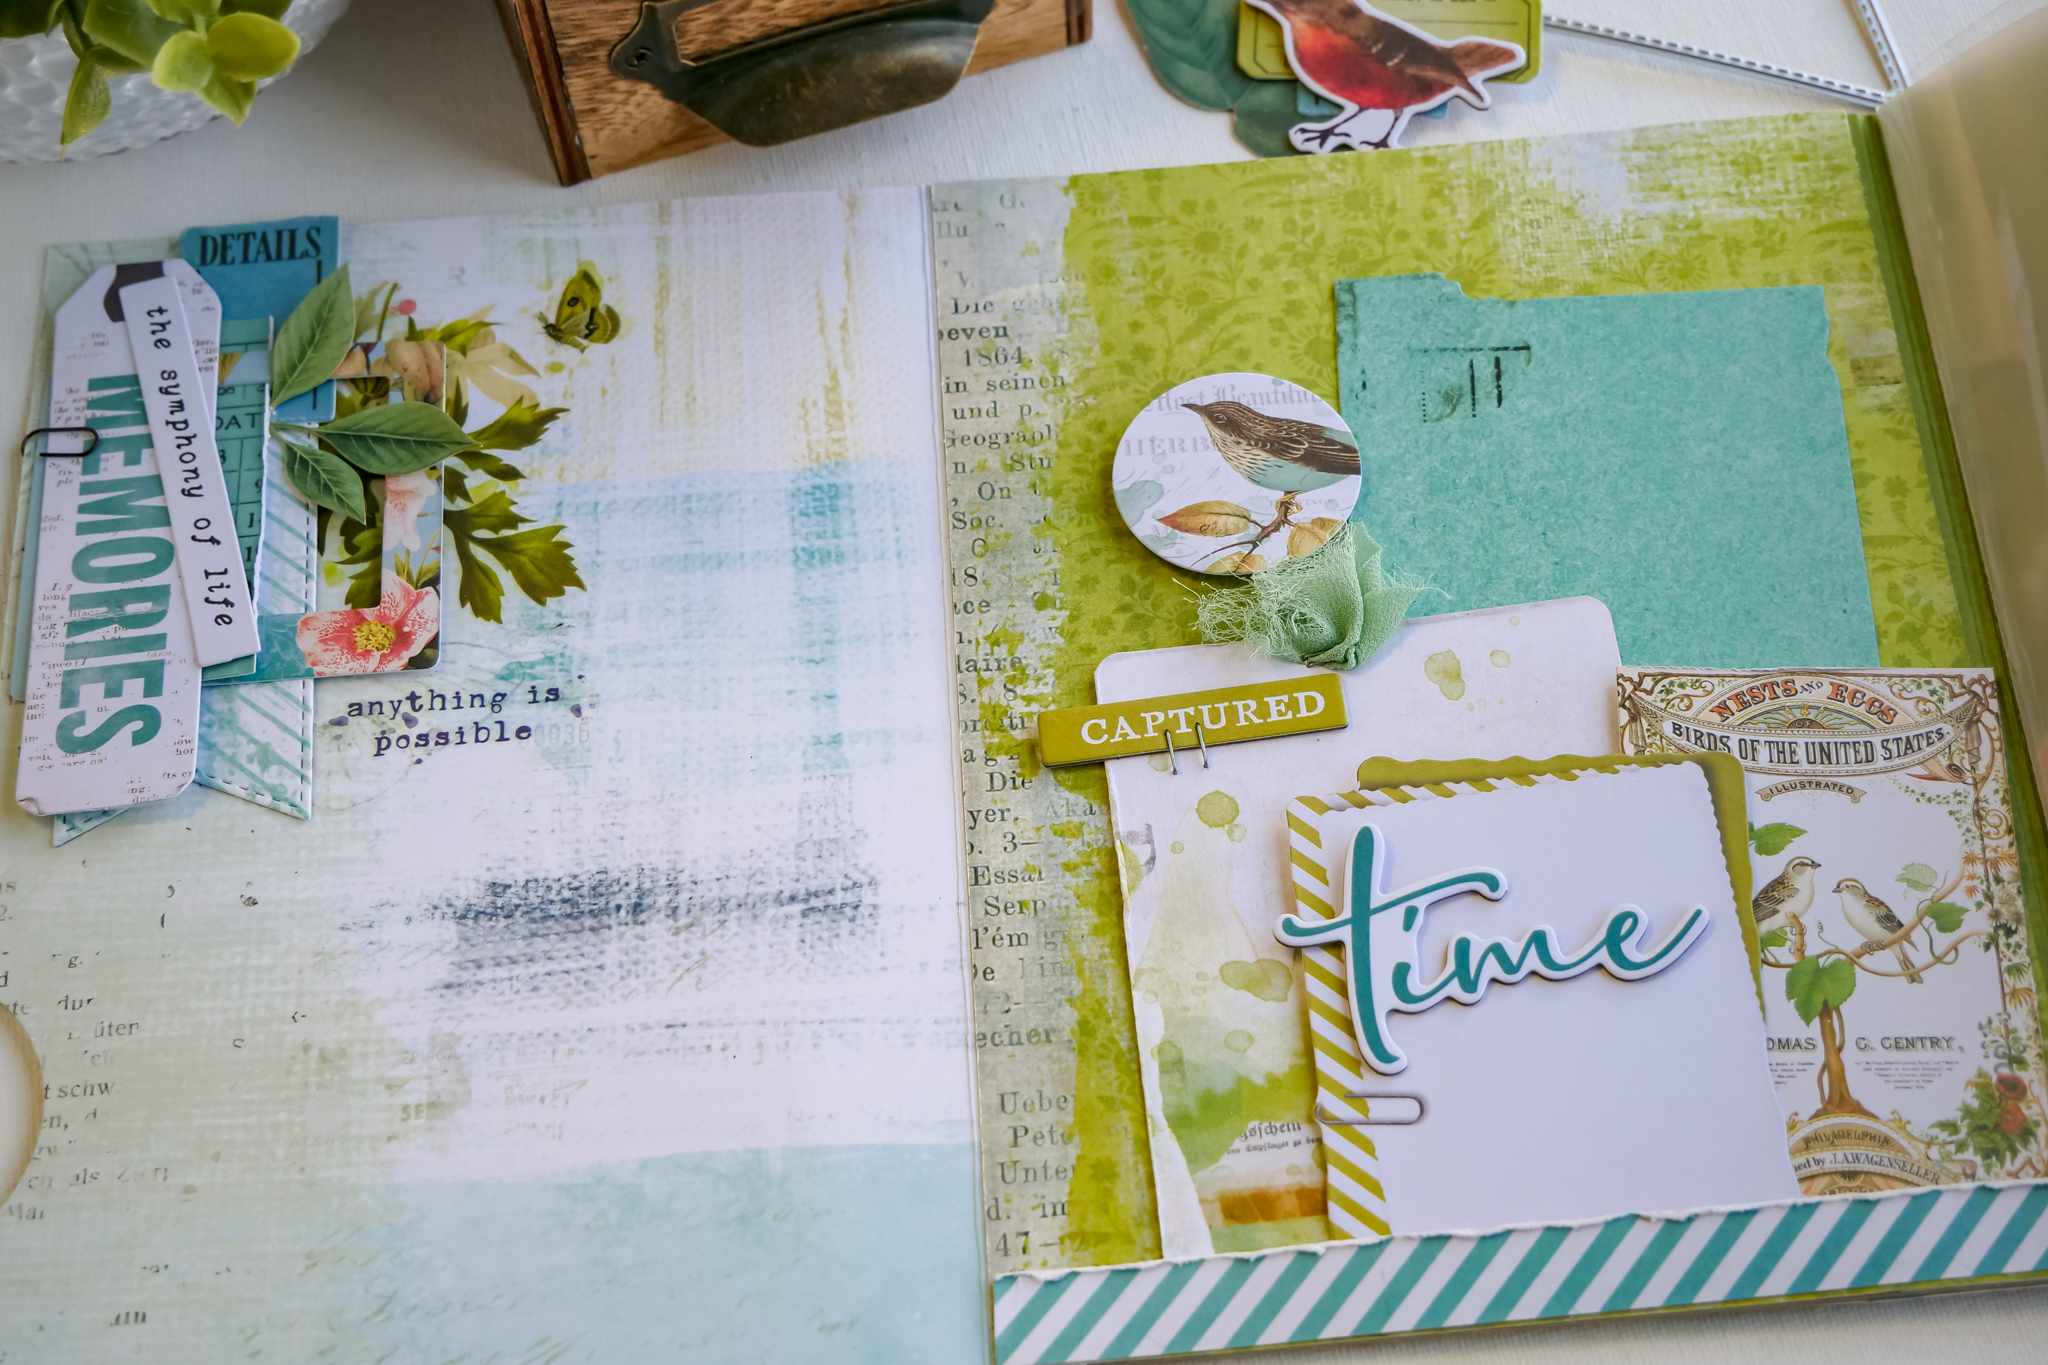
6. On the upper right corner after the pocket page, embellish with the following:
Transfer rub on elements in the upper quadrant.
Find ephemera labels and other pieces to adhere horizontally on the page over the rub ons.
Find or craft a butterfly. Pop up with foam adhesive.
Find a vertical piece or use washi and wrap around the page on the right edge below the tab.
Add a sentiment phrase to the layers as well.
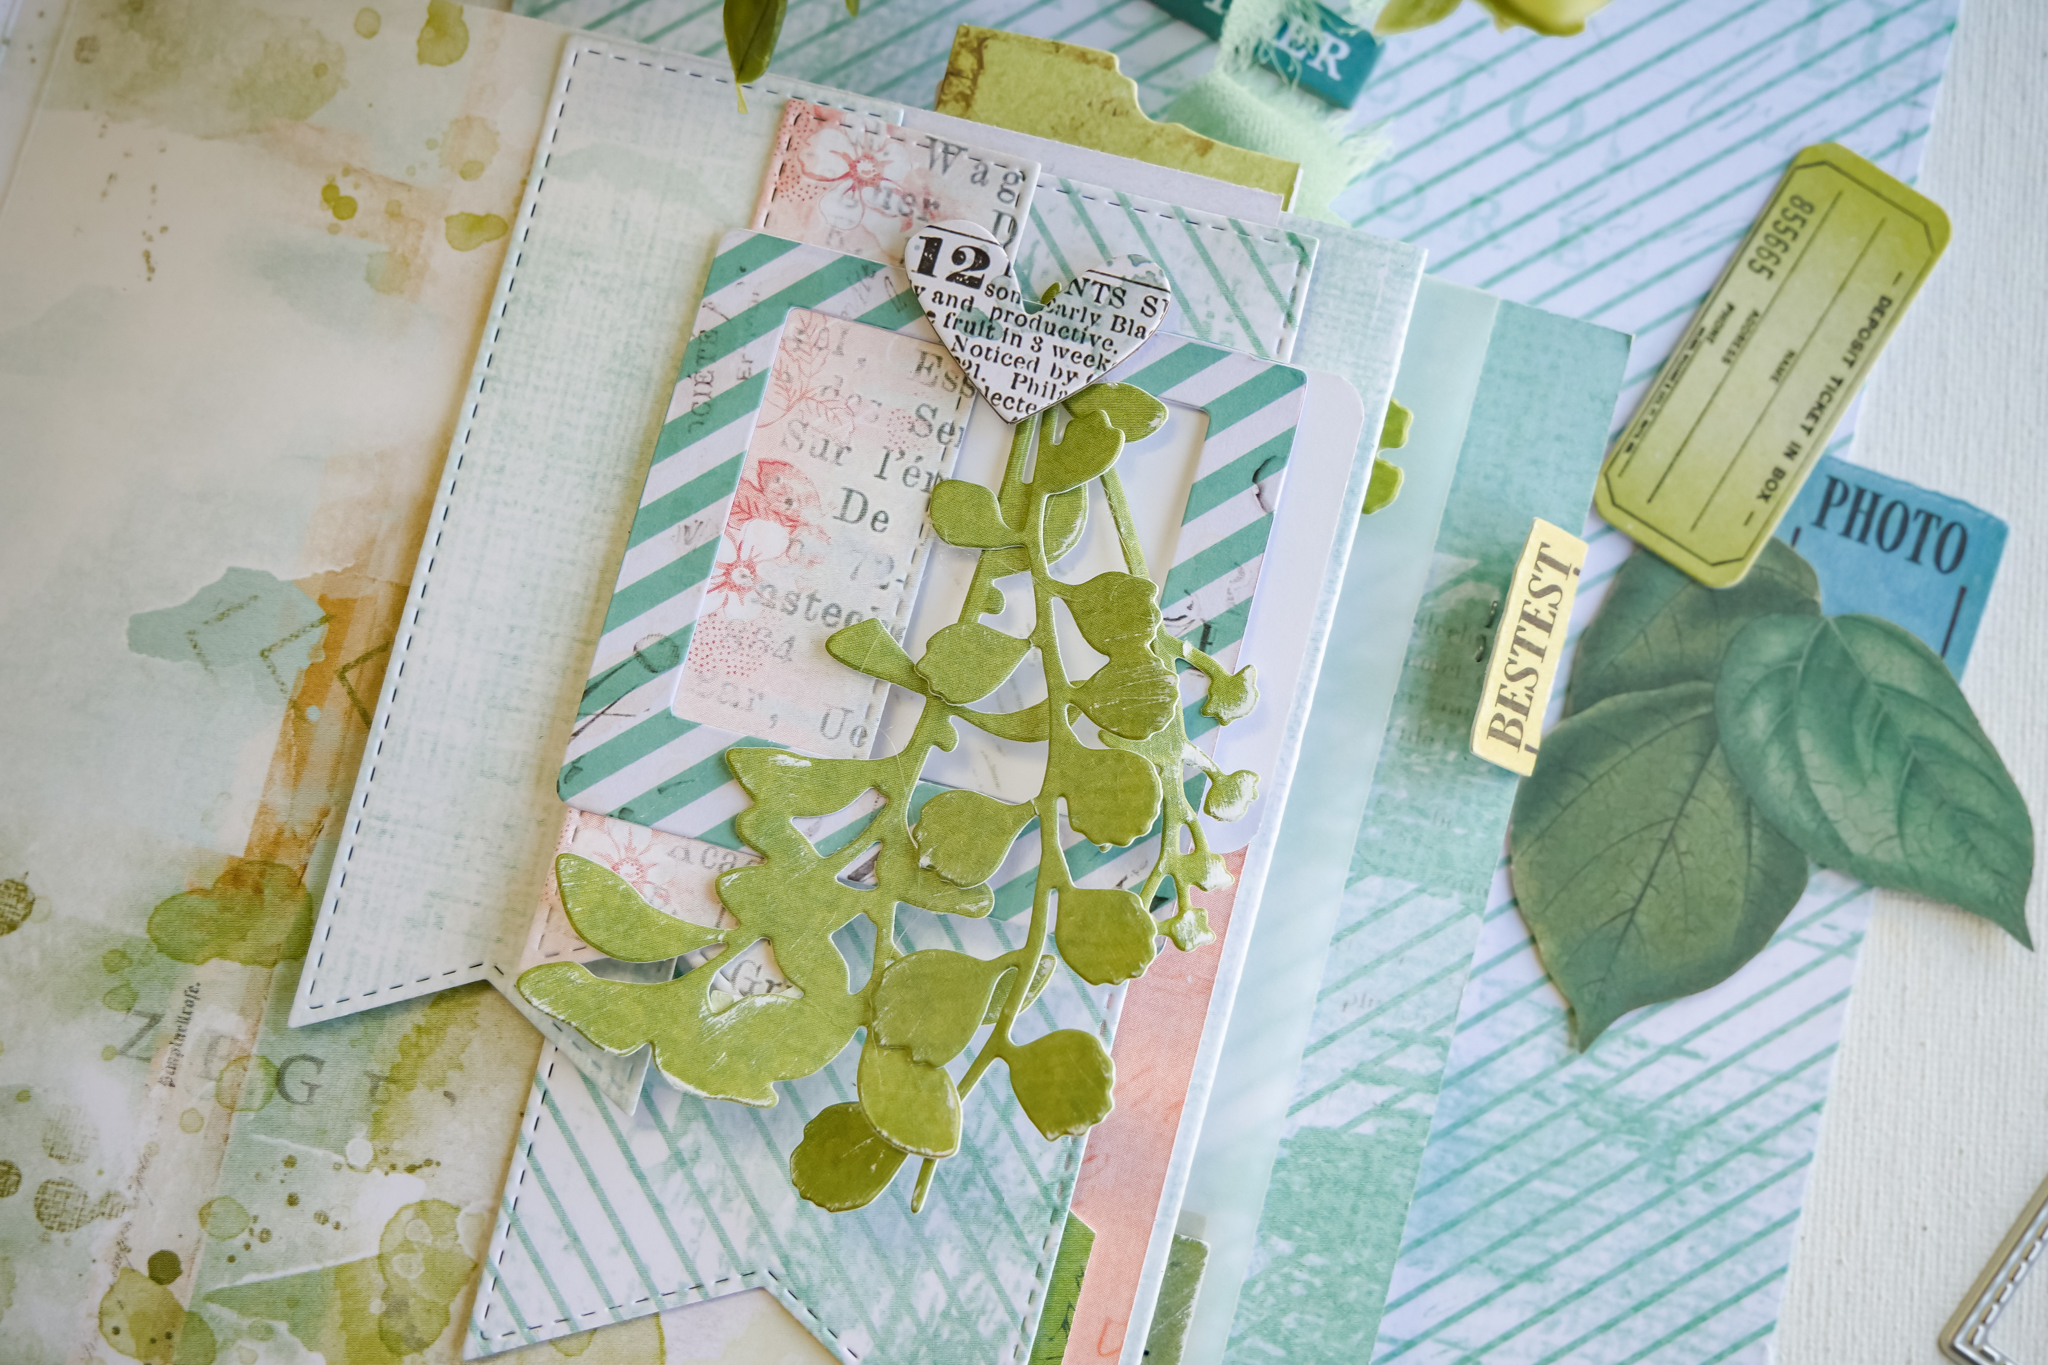
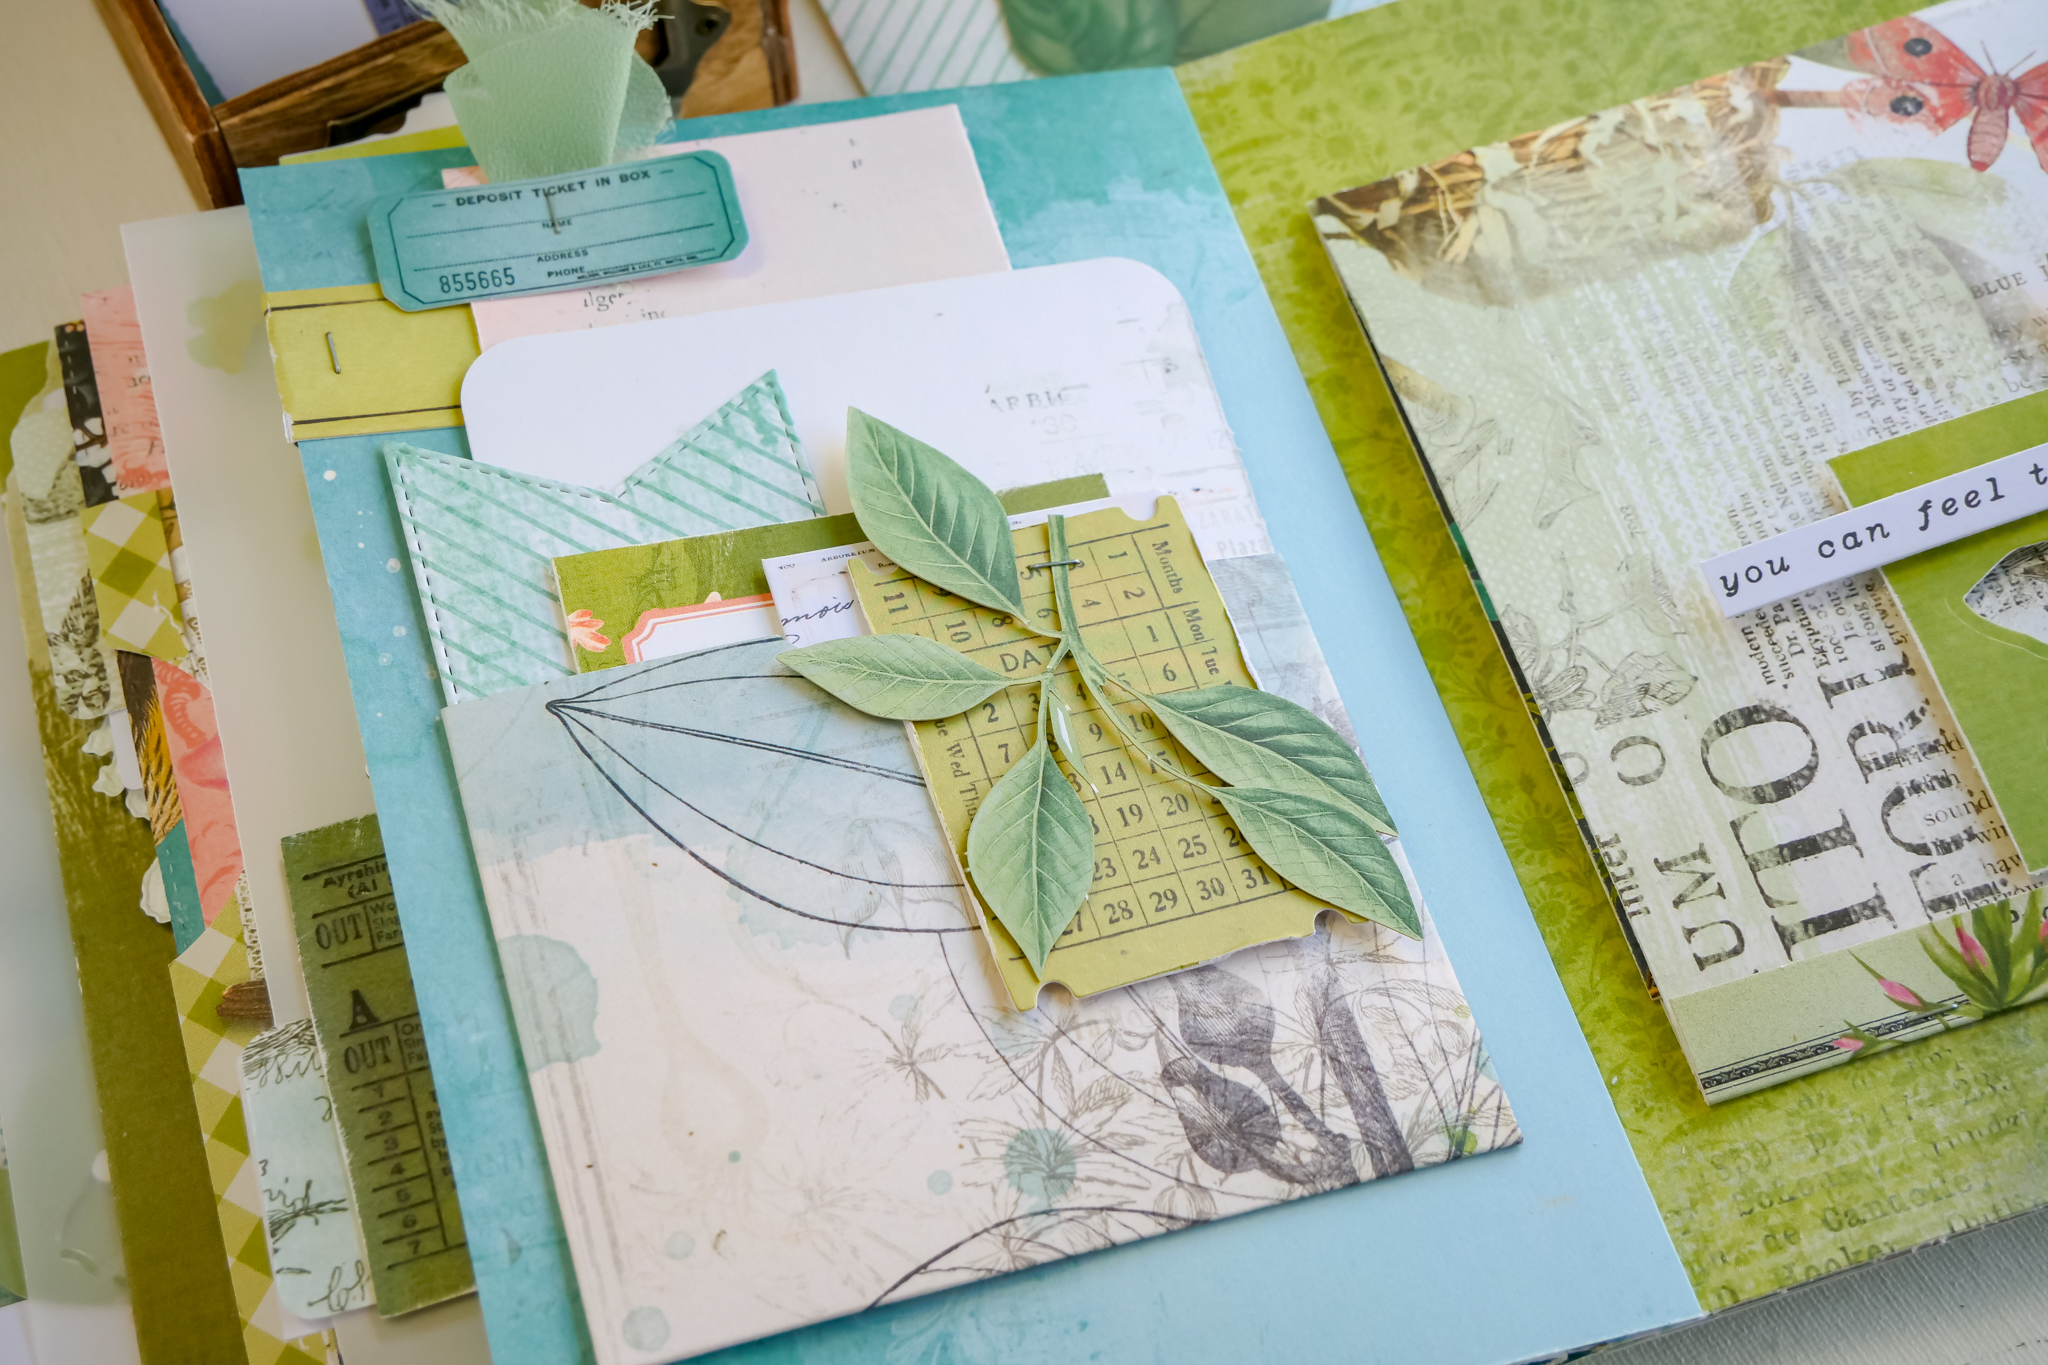
7. For the Middlest Page gather the following:
Die cut banner pieces in a small, medium and large from three different patterns, large label/journal piece, frame, and die cut Fine Stems.
Starting with the larger banner, adhere to the right side edge with ¼ inch hang over.
Then adhere the medium banner piece to overlay the left hand side of that previous banner.
Finally, layer the smaller banner piece so that it straddles the two edges of the two banners.
Add adhesive to the journal spot and tuck under the right side of the smaller banner.
Add adhesive to the left edge of frame and lay over the journal spot and the right edge of the smallest banner.
With adhesive applied to the end of the stems, dangle the die cuts from the top of the frame.
Finish with either ribbon or a die cut something covering the end of the stems.
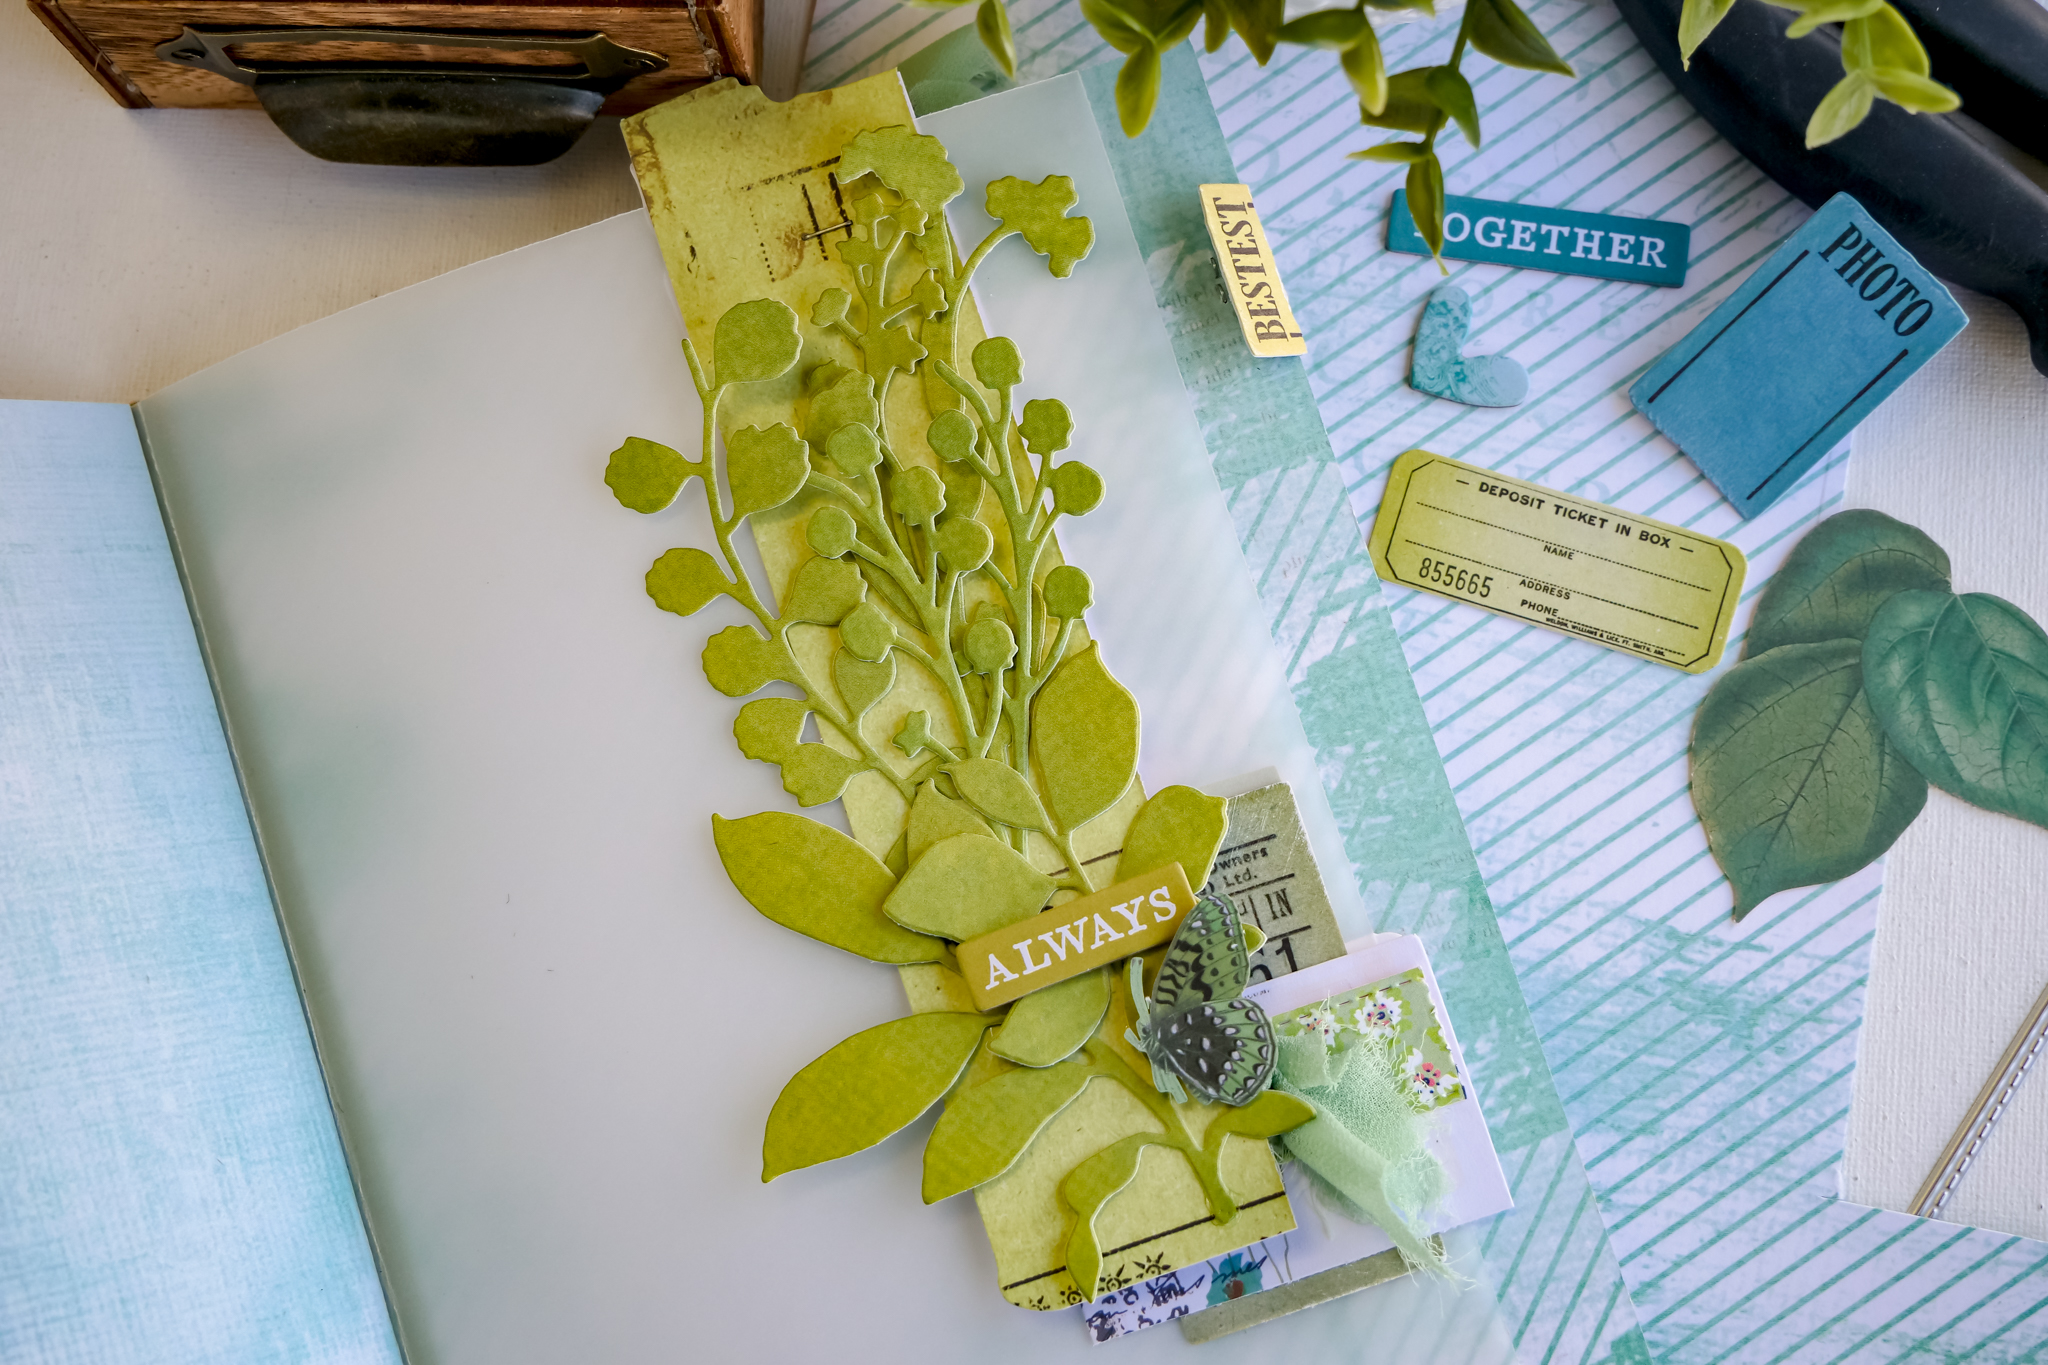
8. On the back vellum page layer a long paper ephemera or scrap of the same size to the front and the back.with the top extending past the top of the book.
Using precut Stems, or cut now, create a trellis of cuts up the long ephemera piece on the front page.
Tuck tickets, postage or any other type ephemera under the layered papers.
Do the same with the tickets and postage behind on the back of the vellum.
Add a sentiment with foam adhesive popped up over the Stems.

9. In the pocket facing the back cover, tuck in post card ephemera, cut apart journal cards, notched banners, stapled Stems, or whatever makes your heart happy. Journal your thoughts about your current creativity to add to this pocket too.
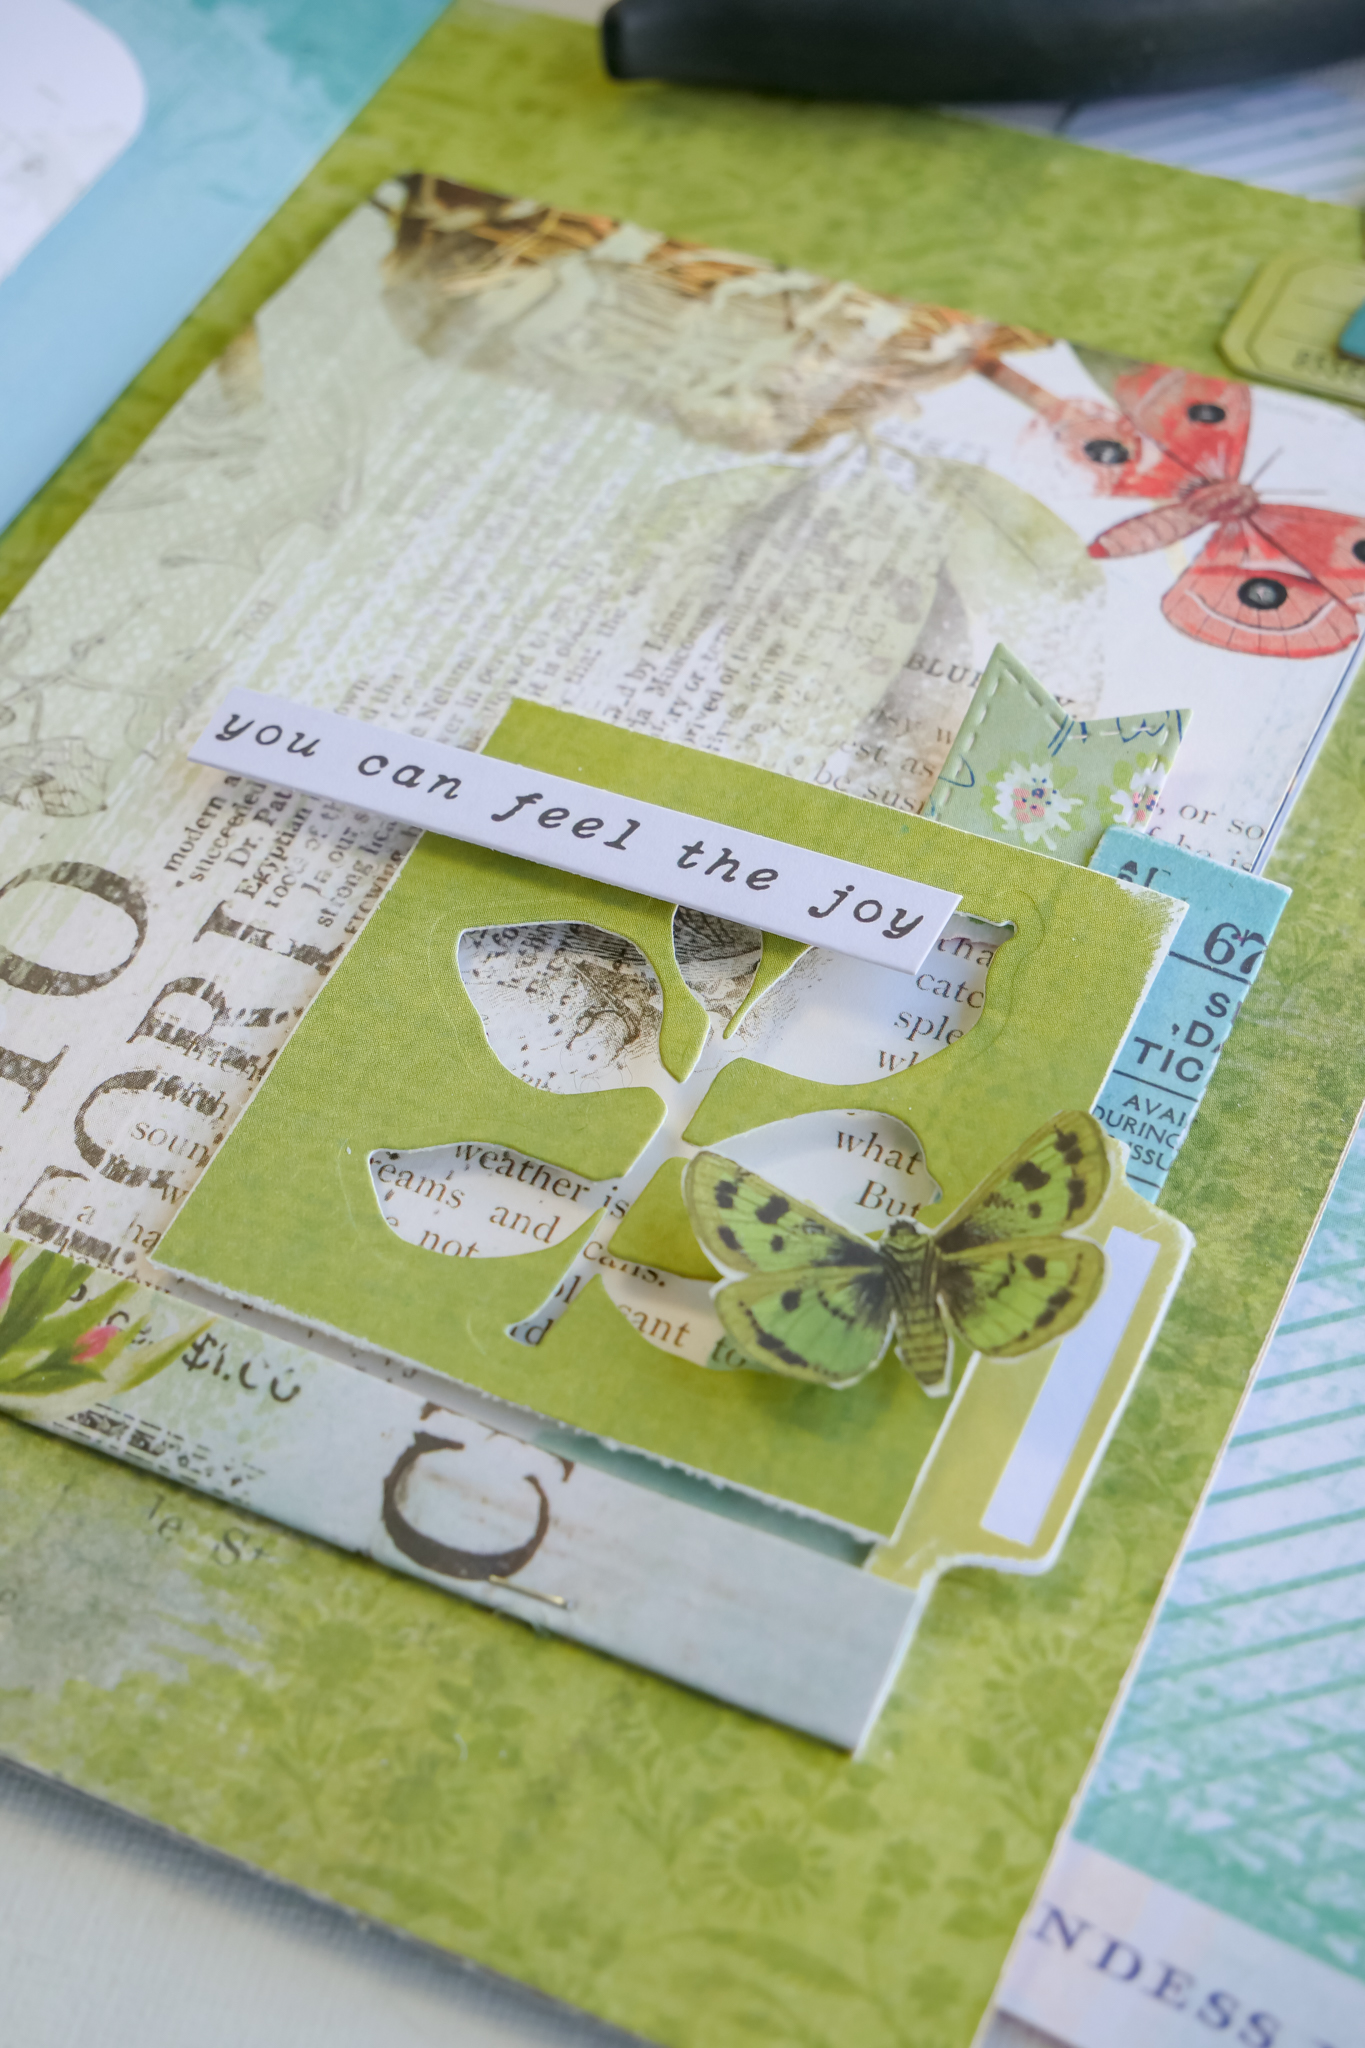
10. On the back matchbook booklet, use a negative die cut as the focal point.
Score a ticket down the middle and wrap around the right edge. Staple in place.
Pop the negative die cut in place layering over the stapled ticket.
Adhere a tab overlapping the edge under the die cut.
Pop a die cut (butterfly) hovering over all the layers.
See after each video for additional photos.