04 | Flippin' Good Pages

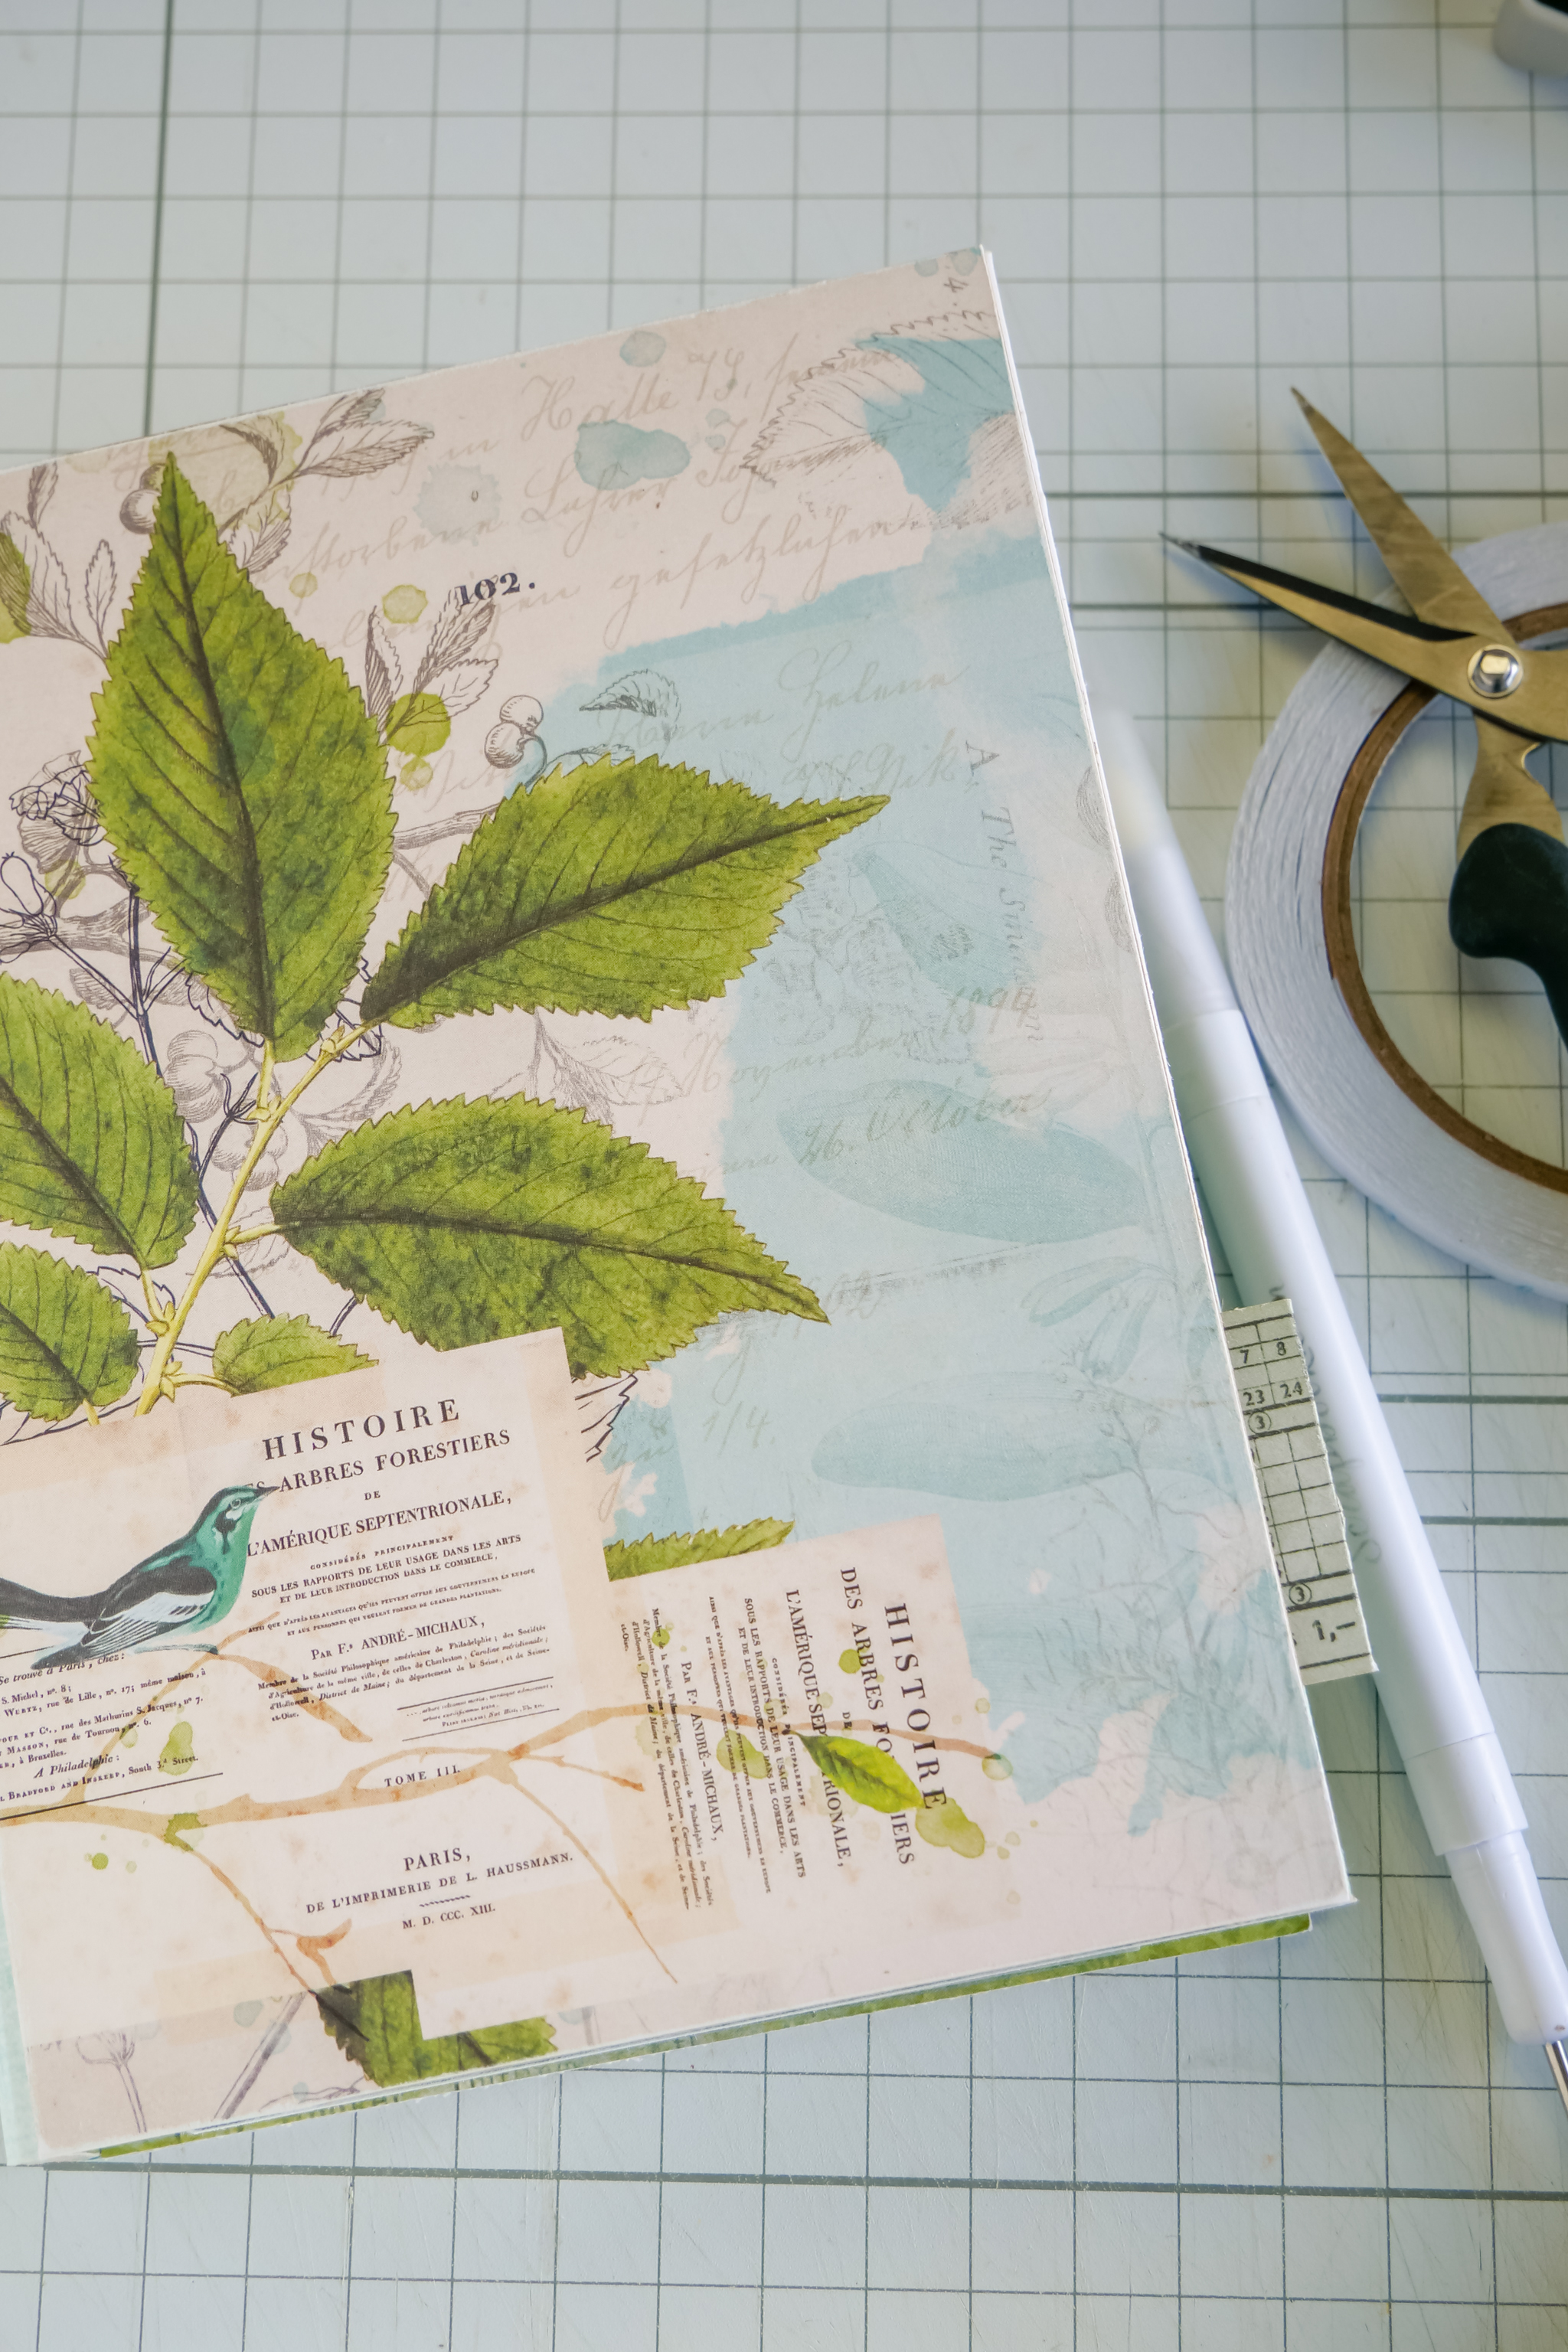
It's time to start filling in the pages. With a good foundation of covers and spine in place, anything goes. You are going to see a bit of a repeat here in the beginning process: Trim paper. Score a 1/2 fold. Add adhesive. Adhere to the spine. Skies the limit the page ideas you could challenge yourself to add to this book.
Remember, find all supplies used throughout this class in the GATHER segment.
Inside Cover Flip
Find or make a tab. With the book open, adhere tab to the inside front cover about an inch from the bottom edge with about ¼ inch suspended out.
Trim pattern paper 6 inches wide by 8 inches tall. On the left side, score along the 6 in width at ½ an inch. Fold. Adhere lining up the fold with the far left edge of the inside chipboard.
From the BINDING lesson, use the 6x8 paper chosen for the inside cover, and adhere that now to the inside cover which will also adhere over the ½ flap of that flipped page.
Punch out a ½ circle bite from the flipped page with a circle punch about an inch from the bottom on the right edge.
Acetate Cover Page
Trim sheet of acetate to 6 inches wide by 8 inches tall.
On a long edge score ½ inch and gently fold.
This folded edge will be what attaches to the inside binding.
Add adhesive along the long edge on the left, and adhere to the middle as close to the left edge as possible.
Vellum Page Number Two
With the vellum, repeat the exact directions as for the Acetate Cover Page. Then attach to the binding overlaying the acetate folded strip.