03 | COVER & SPINE
The best place to begin: covers and spine. Jump start your creativity by crafting this DIY book, cover and spine, with this step-by-step guide. This lesson is foundational to so many inside insert ideas. Let your imagination take you on a creative adventure starting right here.
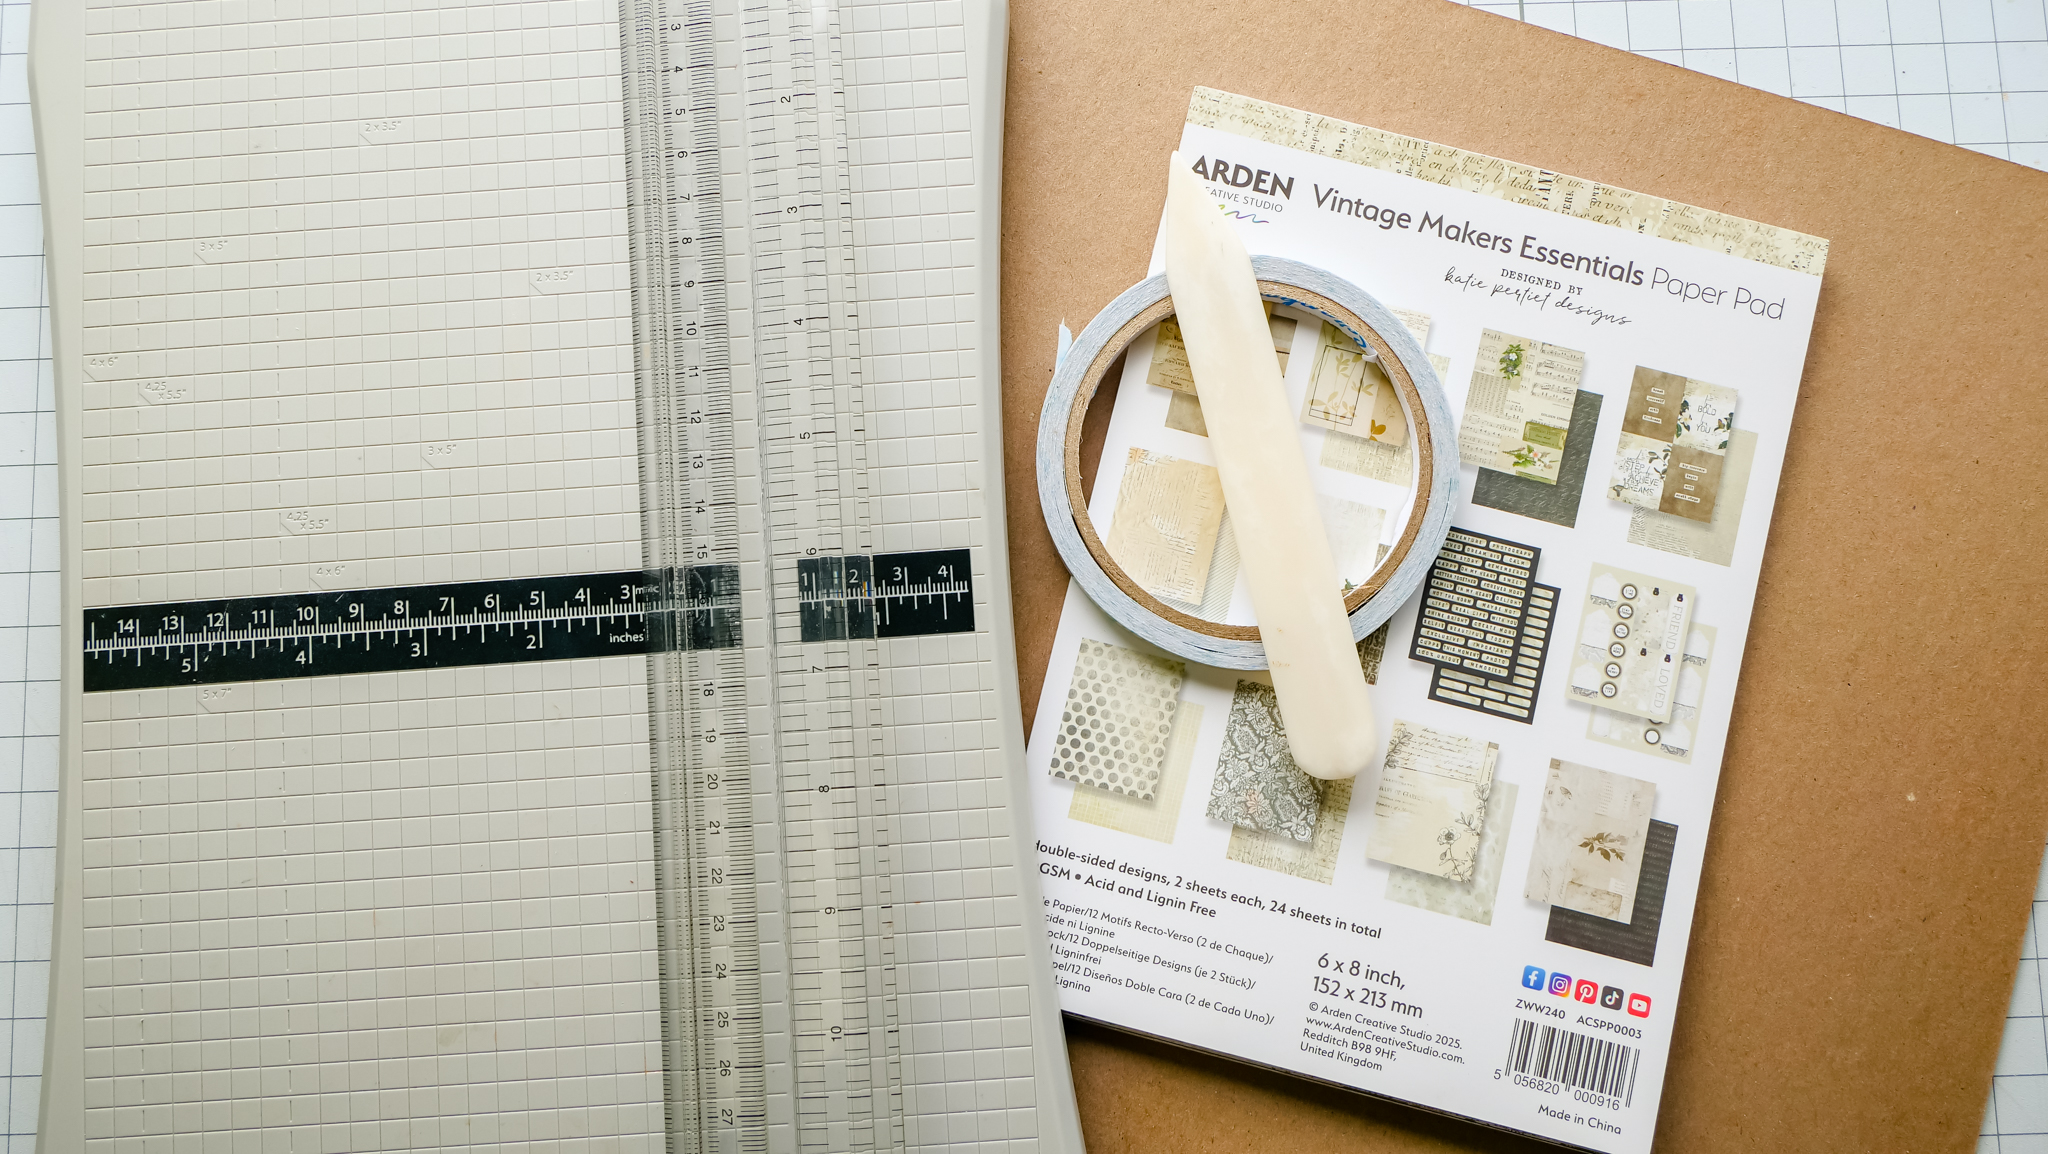
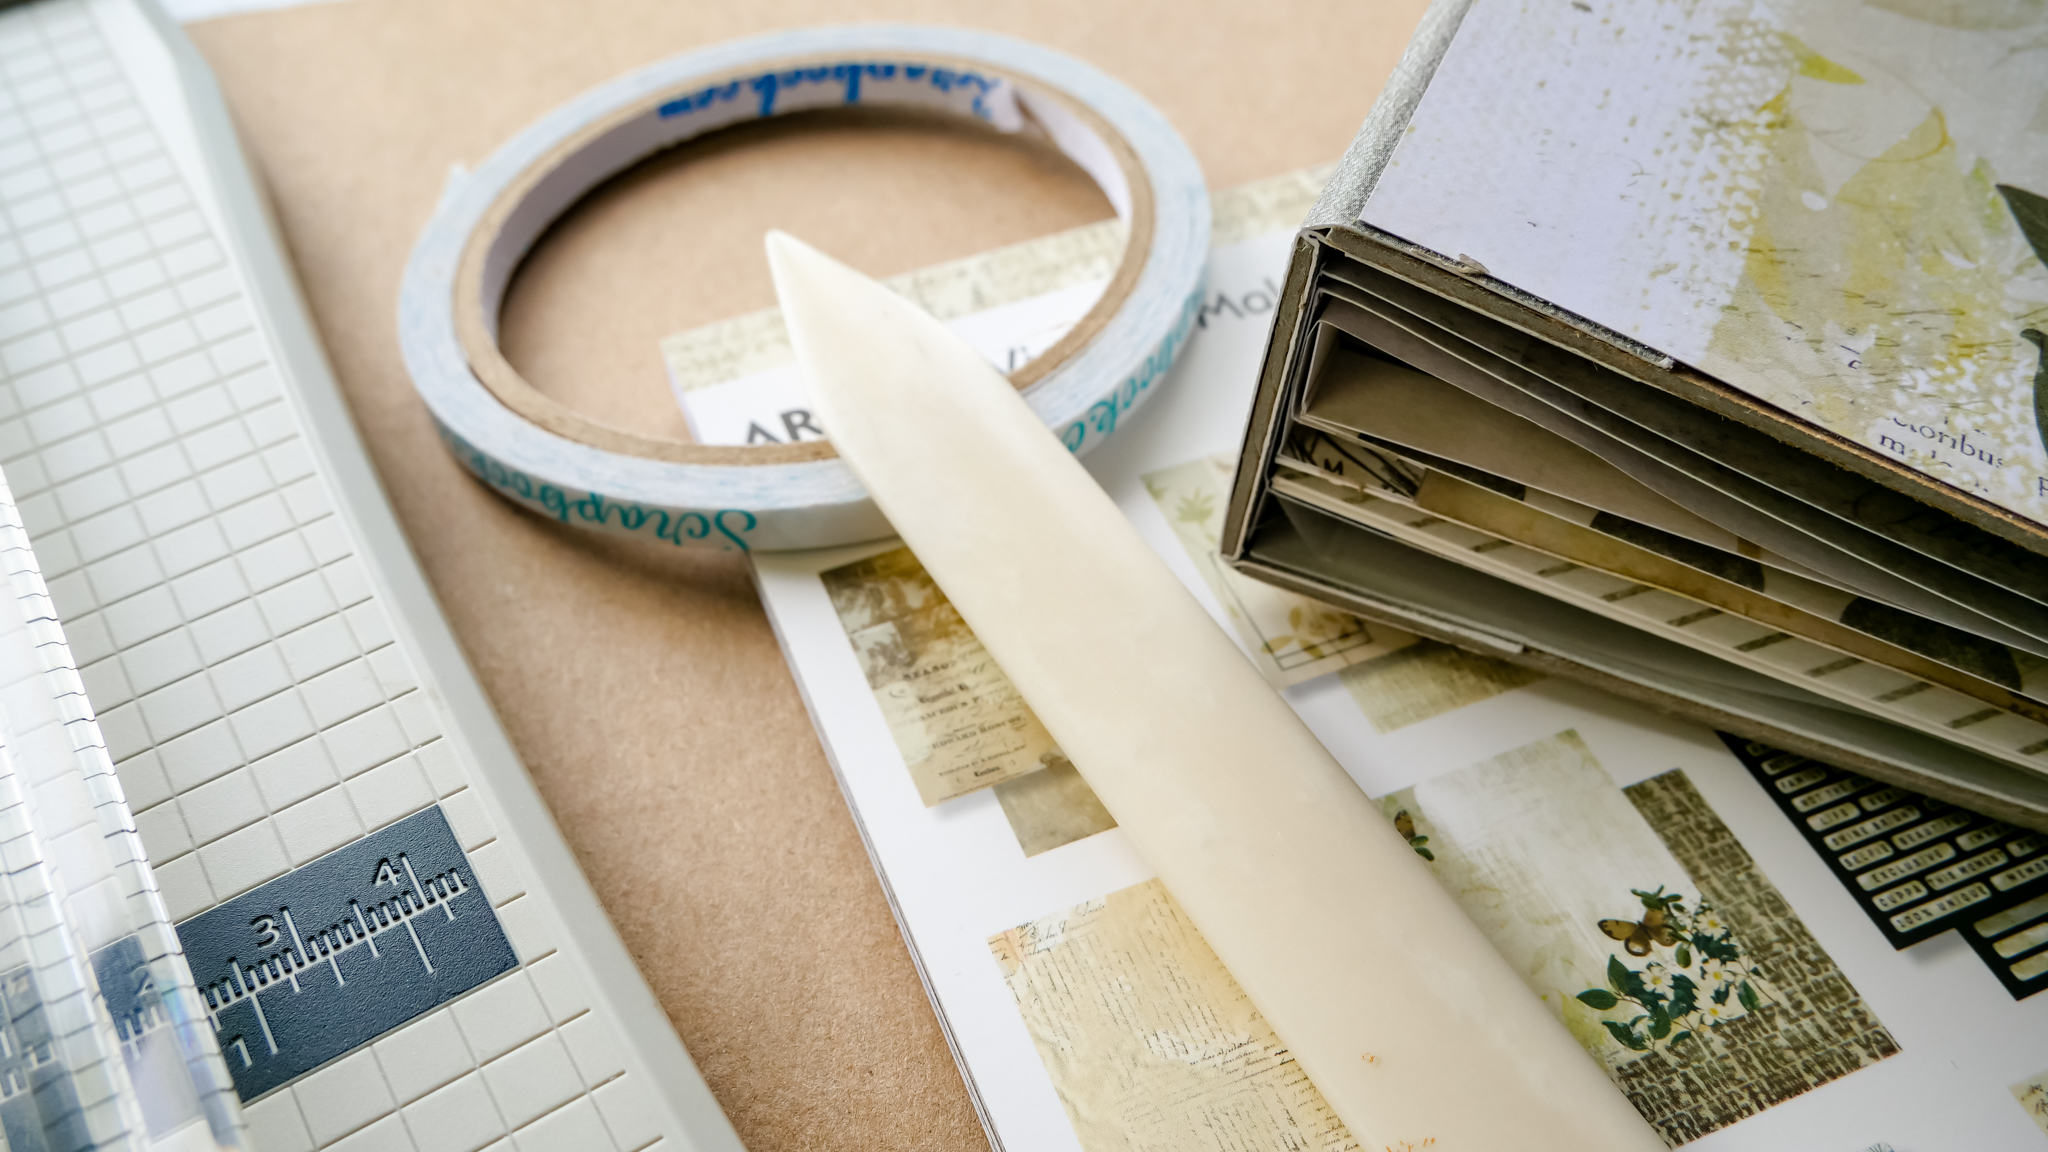
Prepare the pieces that you will need:
2 6x8 chipboard covers
1 ½ x 8 chipboard spine
4 6x8 pattern paper or cardstock
2 4 x 8 pieces pattern paper or cardstock for binding (anything that matches will work for these pieces)
Prepare all the above pieces.
Lay chipboard pieces on a gridded workspace mat so that they line up in a row like an open book: Cover 1, then the spine, then Cover 2 with ¼ inch between the pieces.
Lay 4 inch paper to the inside of the book and mark on the chipboard where it will fit.
Add adhesive so that the binding will adhere to the middle of the spine piece and just a bit over the two covers.
Using a bone folder gently score inside the ¼ inch space to provide the ability for the binding to fold.
Flip chipboard over and repeat steps to adhere binding on the outside of the book just as done to the inside of the book.
At this point the pattern papers are ready to be adhered to the front cover, back cover, and inside the back.
Sand edges smooth.