04 | FOUNDATION
Build and dress the book.
This lesson lays the groundwork for the whole Grateful Today project. In this lesson we build the book structure from the inside out, create a beautifully finished cover, and add an interactive technique that dresses the inside cover—think pockets of pockets. Step-by-step instructions, with lots of variations so you can adapt the design to your own style and supplies.
All dimensions are in inches.
Not too different from other artistry books we have made in past classes. The basic foundation is the same and a most excellent foundation it is. But that’s where the similarities stop. After the cover and spine are constructed, we will add new elements that will be holder of pockets plus journal as well as additional inserts to the book.
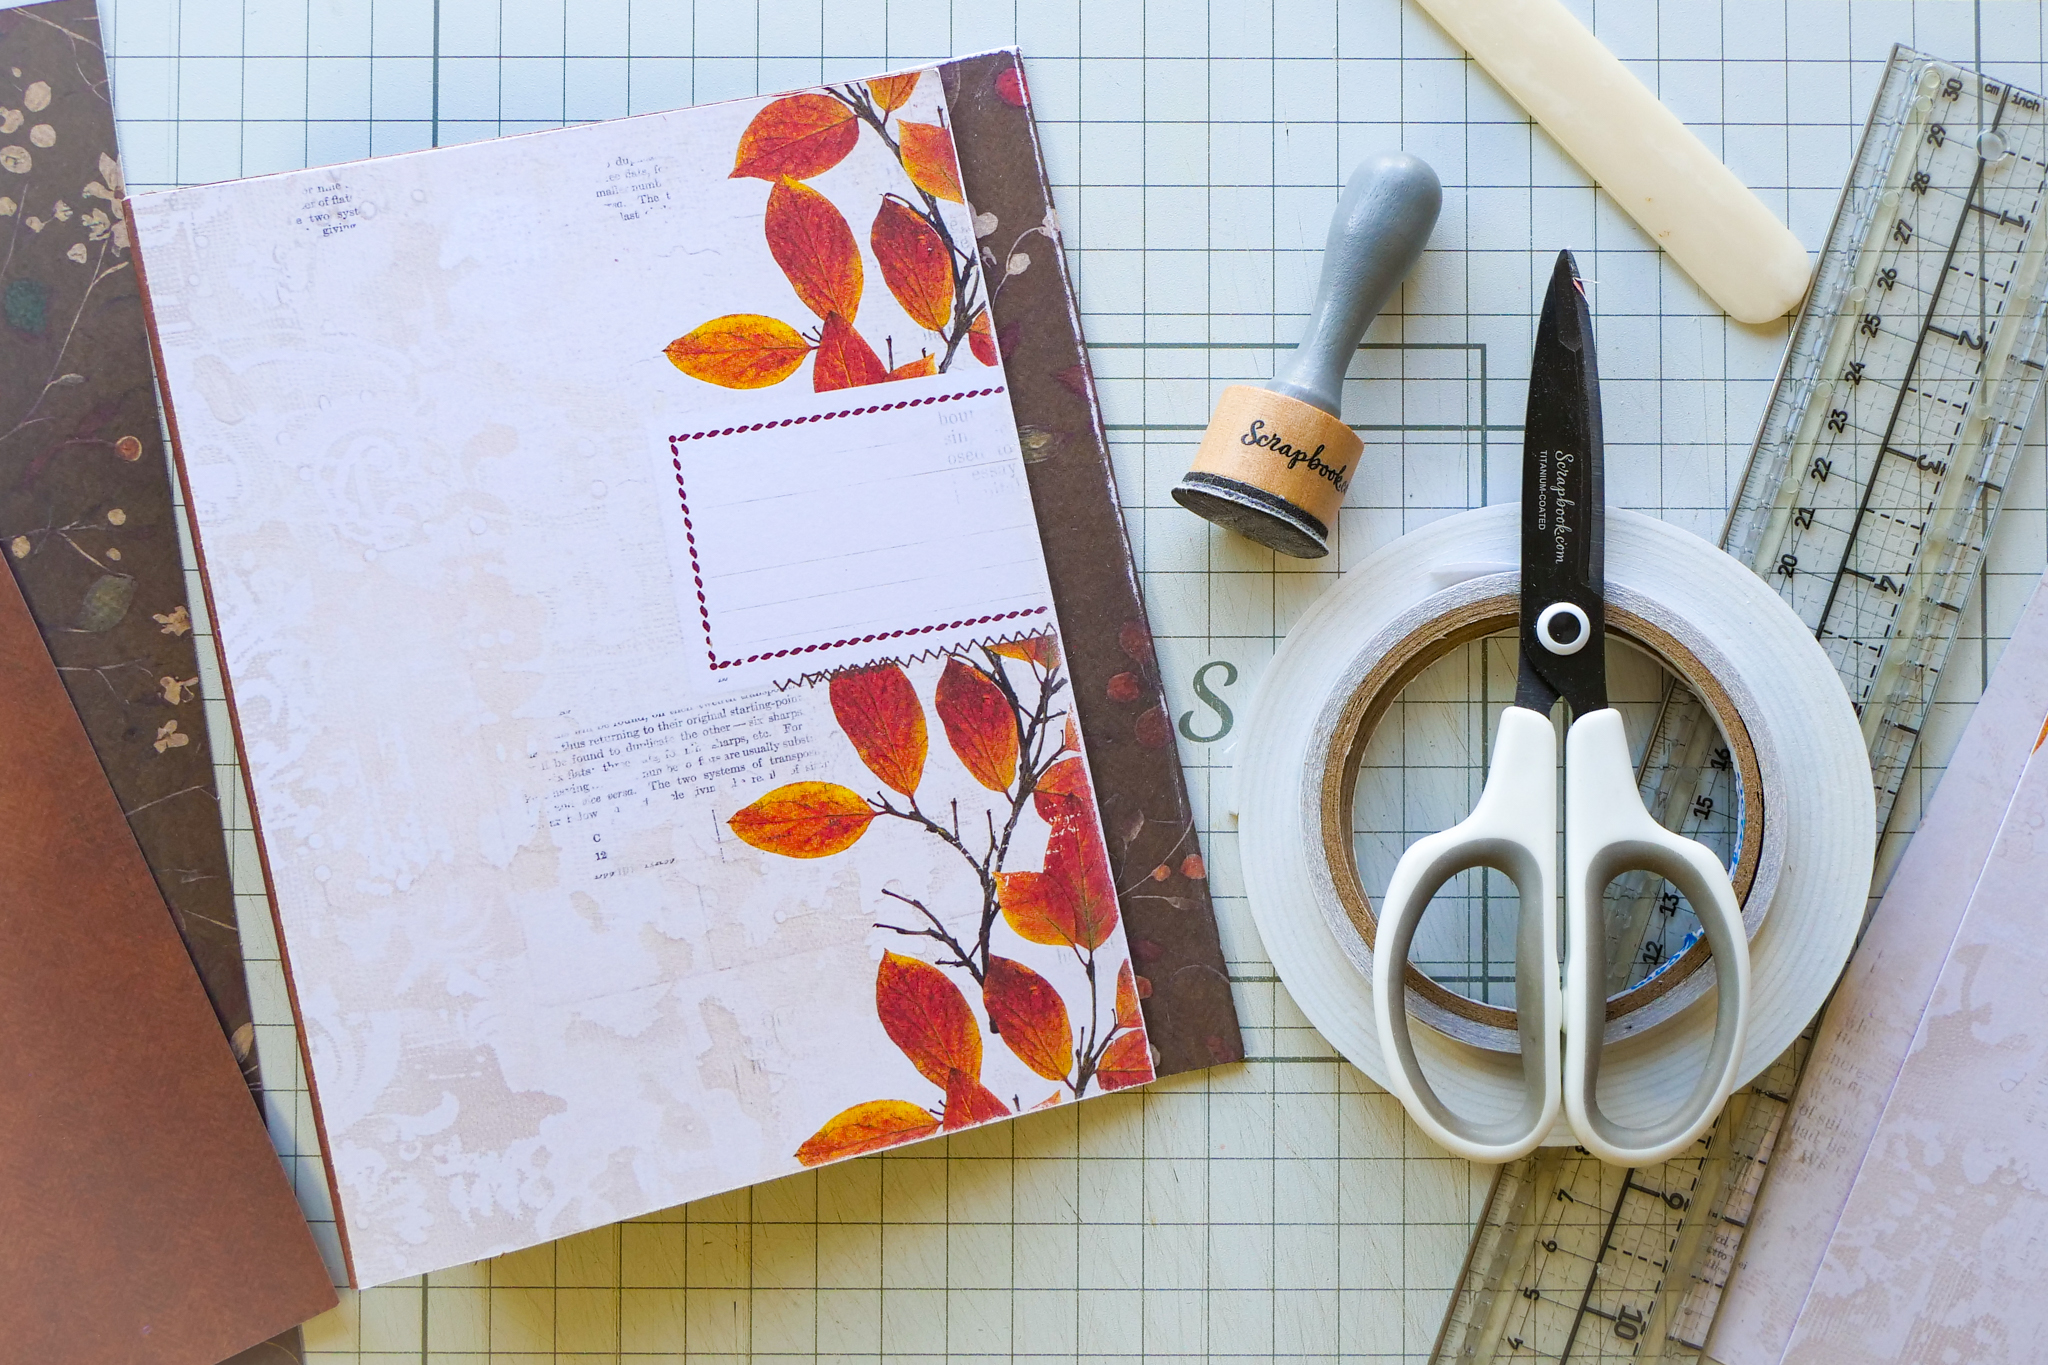
COVERS
Use the book artistry method to craft the covers:
2 - 6x8 chipboard covers
1 - ½ x 8 chipboard spine
2 - 4 x 8 pieces pattern paper or cardstock for binding
4 6x8 pattern paper or cardstock
Lay chipboard pieces on a gridded workspace mat so that they line up in a row like an open book: Cover 1, then the spine, then Cover 2 with ¼ inch between the pieces.
Adhere 4 ½ inch paper to the inside of the spine and to the inside binding with ¼ inch double sided adhesive.
Using a bone folder gently score inside the ¼ inch space to provide the ability for the binding to fold.
Flip chipboard over and repeat steps to adhere binding on the outside of the book just as done to the inside of the book.
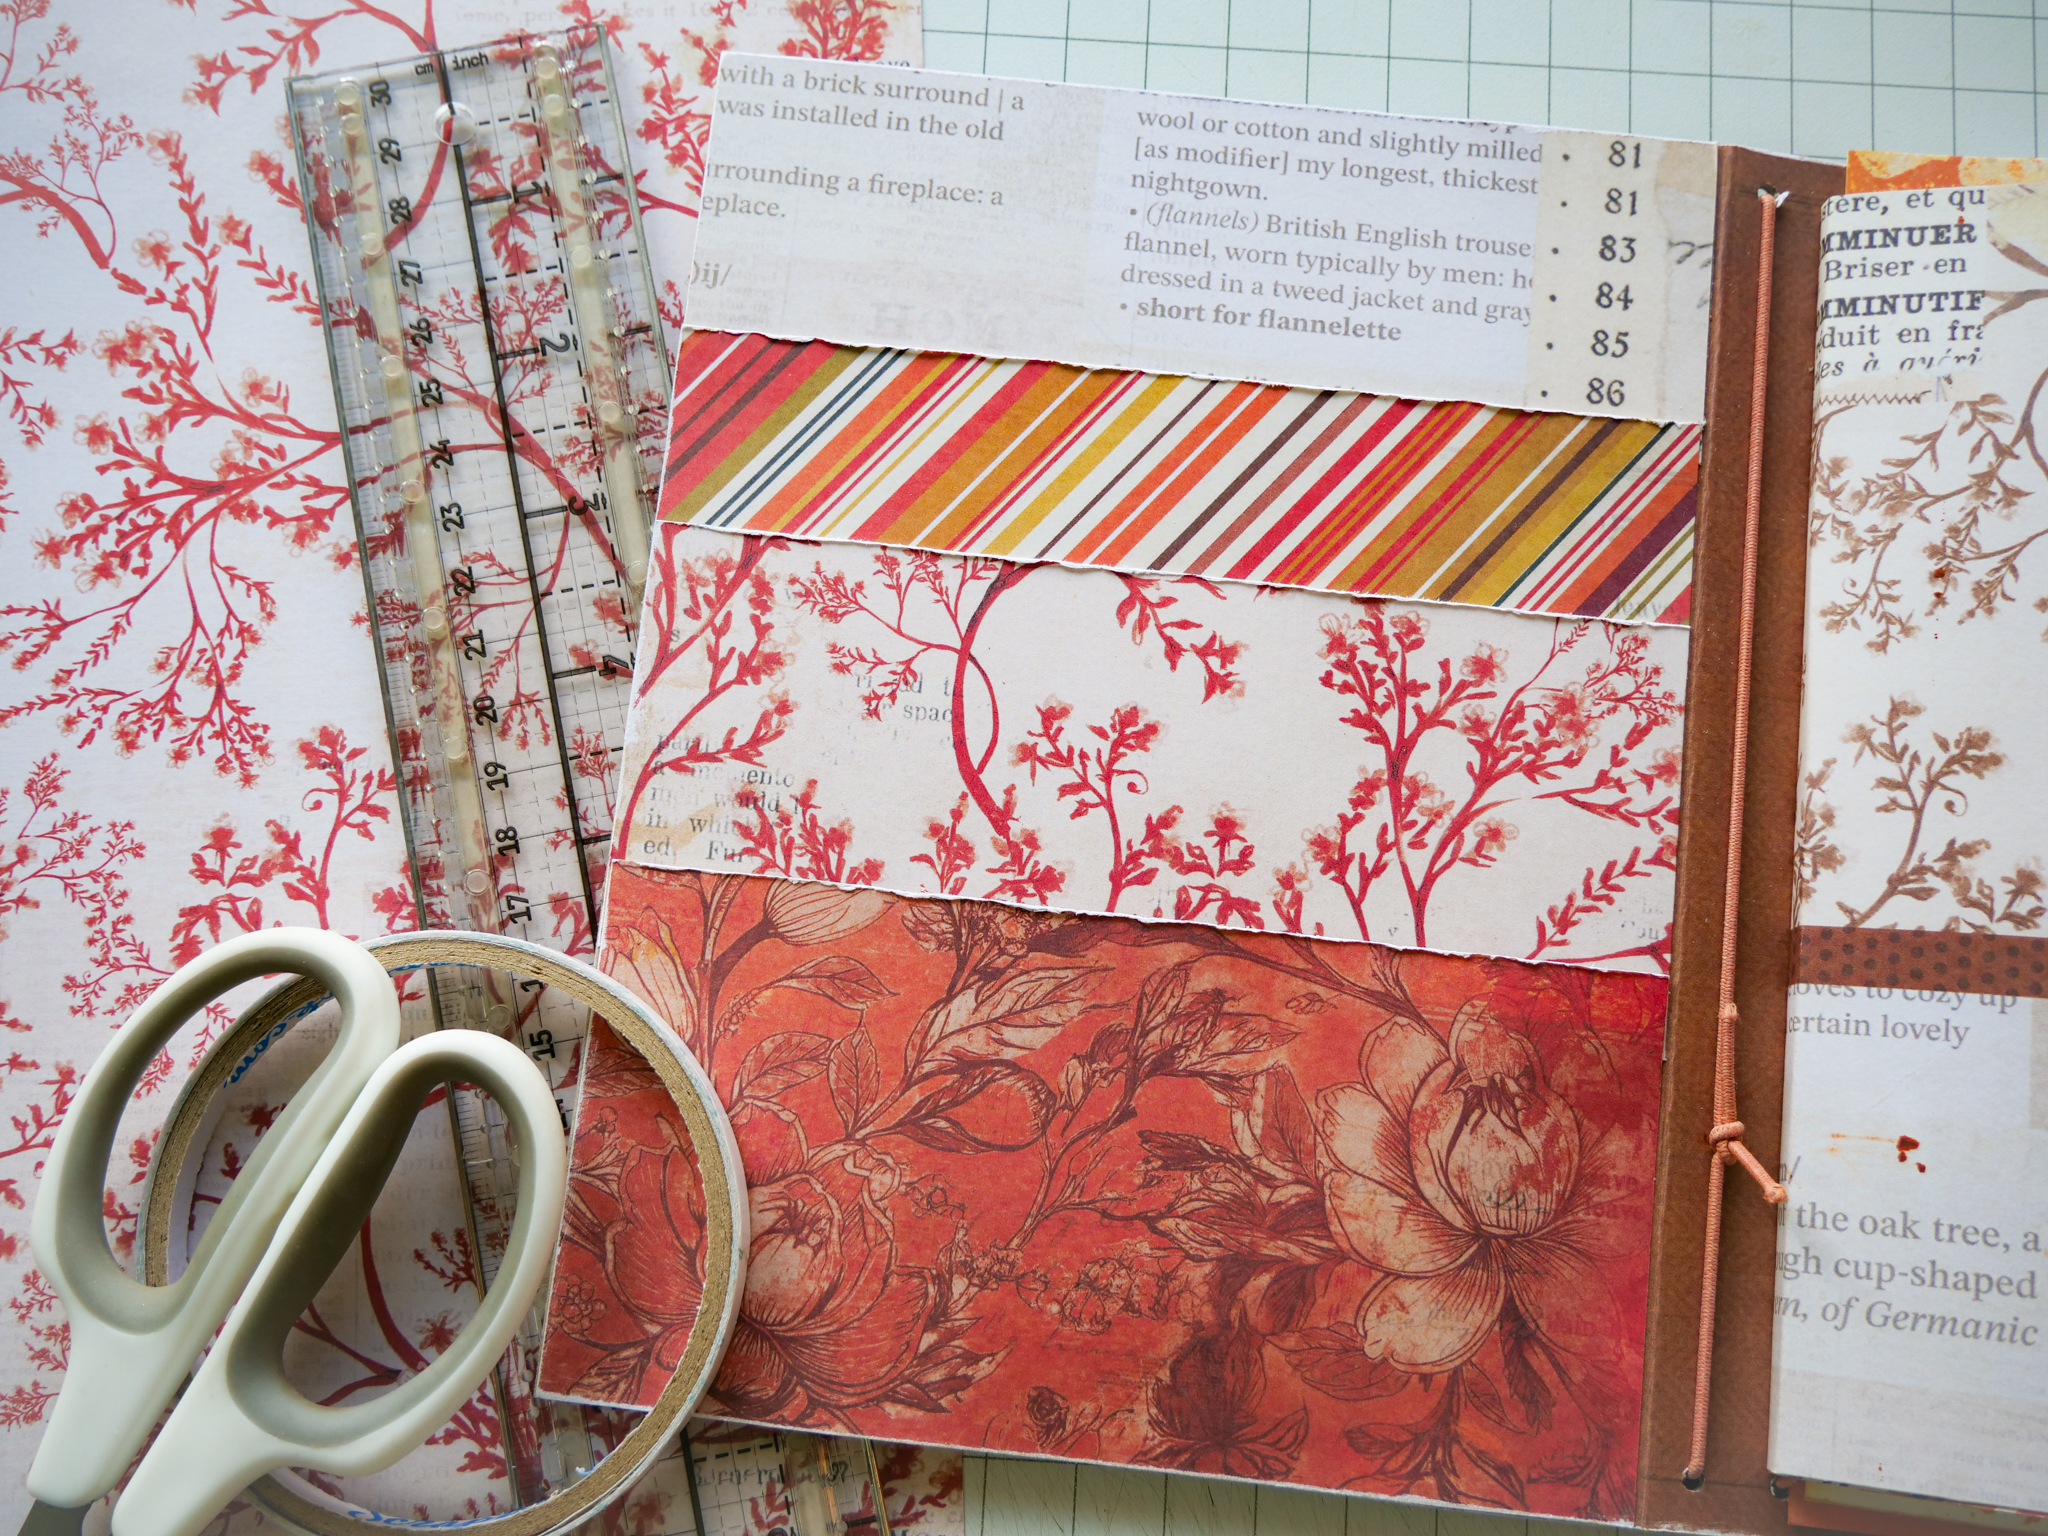
>INSIDE COVER
As outlined in the class, we will be adding in an inside cover of pockets.
Trim pattern paper of choice to these dimensions:
1 - 6 x 3
2 - 6 x 2 ½
1 - 6 x 2
Starting at the top with the 6x2 piece, adhere to the top edge.
At 1 ¾ inches from top, adhere one of the 6 x 2 ½ with adhesive only on the two short ends.
Repeat above only adhere at the 3 inch mark.
Repeat above with the last piece adhering to the very bottom edge of the inside of the cover.